
As many of you know, most model horses produced by sculptors for the hobby are cast in resin--that's why we call them "Artist's Resins", after all! Resin is an amazing material and comes in many varieties. The resins used in the hobby vary slightly, but nearly all are a two part, self-hardening thermoset plastic. Thermoset means that once the plastic has set up, you can't just reheat it to melt it down and use it again. Cellulose acetate (what Breyers and Stones are made of) is a thermoplastic plastic, so heating it will make it soften and then melt. Heating a thermoset plastic like resin may soften it up to a point, but it will not melt nicely so you can use it again.
Producing a model in resin is quite expensive. Uncured or unmixed resin is toxic to varying degrees, and getting good castings really requires some expensive equipment. The silicone rubber molds used to make resins are pricey, both in materials and in the very skilled labor needed to make them. The molds don't last forever, either--depending on a variety of factors, perhaps 65 castings can be expected out of each mold.
Resin is not particularly fragile, but nor is it incredibly strong. Heavy bodies on thin legs (like horses!) can cause gradual warping of the legs over time. For this reason, as well as the comfort of painters and economical reasons, hollow-cast resins are popular and common. Wire reinforced legs are also common. Producing a hollow-cast, wire-reinforced resin horse with minimal seams and bubbles requires an immense amount of skill!
When I began creating micro minis, I considered producing them in resin but quickly chose pewter instead. Many people in the hobby are not particularly familiar with pewter, but I think it's a lovely material.
Pewter is an alloy of tin and other metals. It has a relatively low melting point, around 350-450° F. That low melting point means that it can be poured into rubber molds, unlike many other metals which would burn the rubber. Typically, a vulcanized rubber mold is used to produce small pewter pieces like my micro minis. The molds my caster uses can hold 6-7 horses at a time and are vulcanized using heat and pressure, in somewhat the same way that a car tire is produced! This makes for durable molds: instead of 65 horses, a mold can often make hundreds of castings of each horse. I believe that my new horses are going to be cast using different molds, which don't last so long but do allow for complex poses without distortion (due to the high pressures and temperatures involved a certain amount of distortion is inevitable in vulcanized rubber molds).
The more durable molds are far from the major cost savings of producing small horses in pewter, though--after all, I don't really need to be able to produce many hundreds or thousands of each horse. No, the real savings are in the per-casting price, the price I have to pay for each horse on top of the fixed mold cost. For a resin micro mini, the last time I checked that cost per piece was higher than the price at which I sell the pewter micro minis. I would need to significantly increase the price (think doubling or more) to produce them in resin. This is the most important reason I have for using pewter. Even though the price of tin and therefore the cost of pewter (and the cost to me of my little horses) has nearly doubled in the last year I have not yet had to increase my prices on the micro minis.
Pewter can be painted and finished just like resin. In fact, miniature makers have been using pewter for far longer than anyone has used resin! In many cases the pewter horses have fewer and cleaner seams than resins, and the seams they do have can be cleaned the same way as resins--small files, sandpaper, and carbide scrapers.
One of the issues raised about the pewter micro minis is the surface texture or porosity some exhibit. While this can be sanded or polished down, it does add an additional step and could lead to loss of detail. For the newest horses, I am going to be using a different caster who I have been told can do amazing things with pewter. I haven't sent anything to him before, so we will see, but I have very high hopes that these will be cleaner and smoother than ever before.
Another issue comes in repairing broken pewter minis. I honestly can't say I've repaired many myself, as I'd rather simply replace the horse than spend a lot of time fixing it. However, for a painted model, simply replacing it is not so simple! Breaks can be repaired by drilling, pinning, and gluing, but that is very tricky on the tiniest micro mini legs. Depending on the horse, it might be pretty hard to simply glue certain breaks, especially if it is a very delicate leg that needs to support weight. In those cases, I would remove the broken area up to the nearest place thick enough to be drilled and have a pin inserted, then resculpt the broken area over the pin. While the additional weight of the pewter does make this more difficult than in resin, the much greater strength of pewter also means far fewer breaks than would be likely to occur in tiny, delicate resin legs. Some micro minis are more prone to breakage than others, as I have been seeing now that sales of them are handled in-house, and I'm trying to design future releases to be even less fragile while still having refined legs and details.
So, hopefully that helps clarify some of the issues with using resin for such little horses! Please feel free to post questions or comments, I'd love to hear what you think!
Tuesday, April 19, 2011

Monday, April 18, 2011
New sculpture, new scale


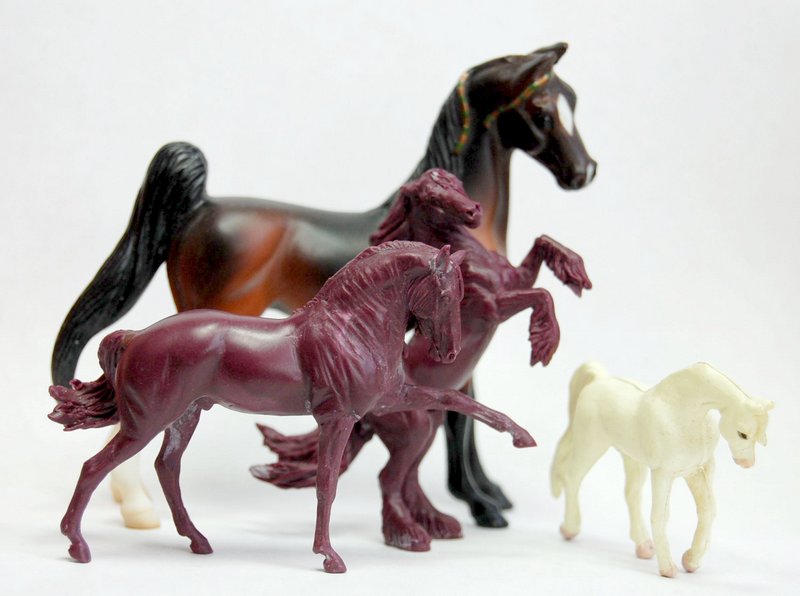
Any ideas for a name for this scale? Is anyone else doing stuff in a similar size?
Sunday, March 27, 2011
Another drastic custom Arabian!
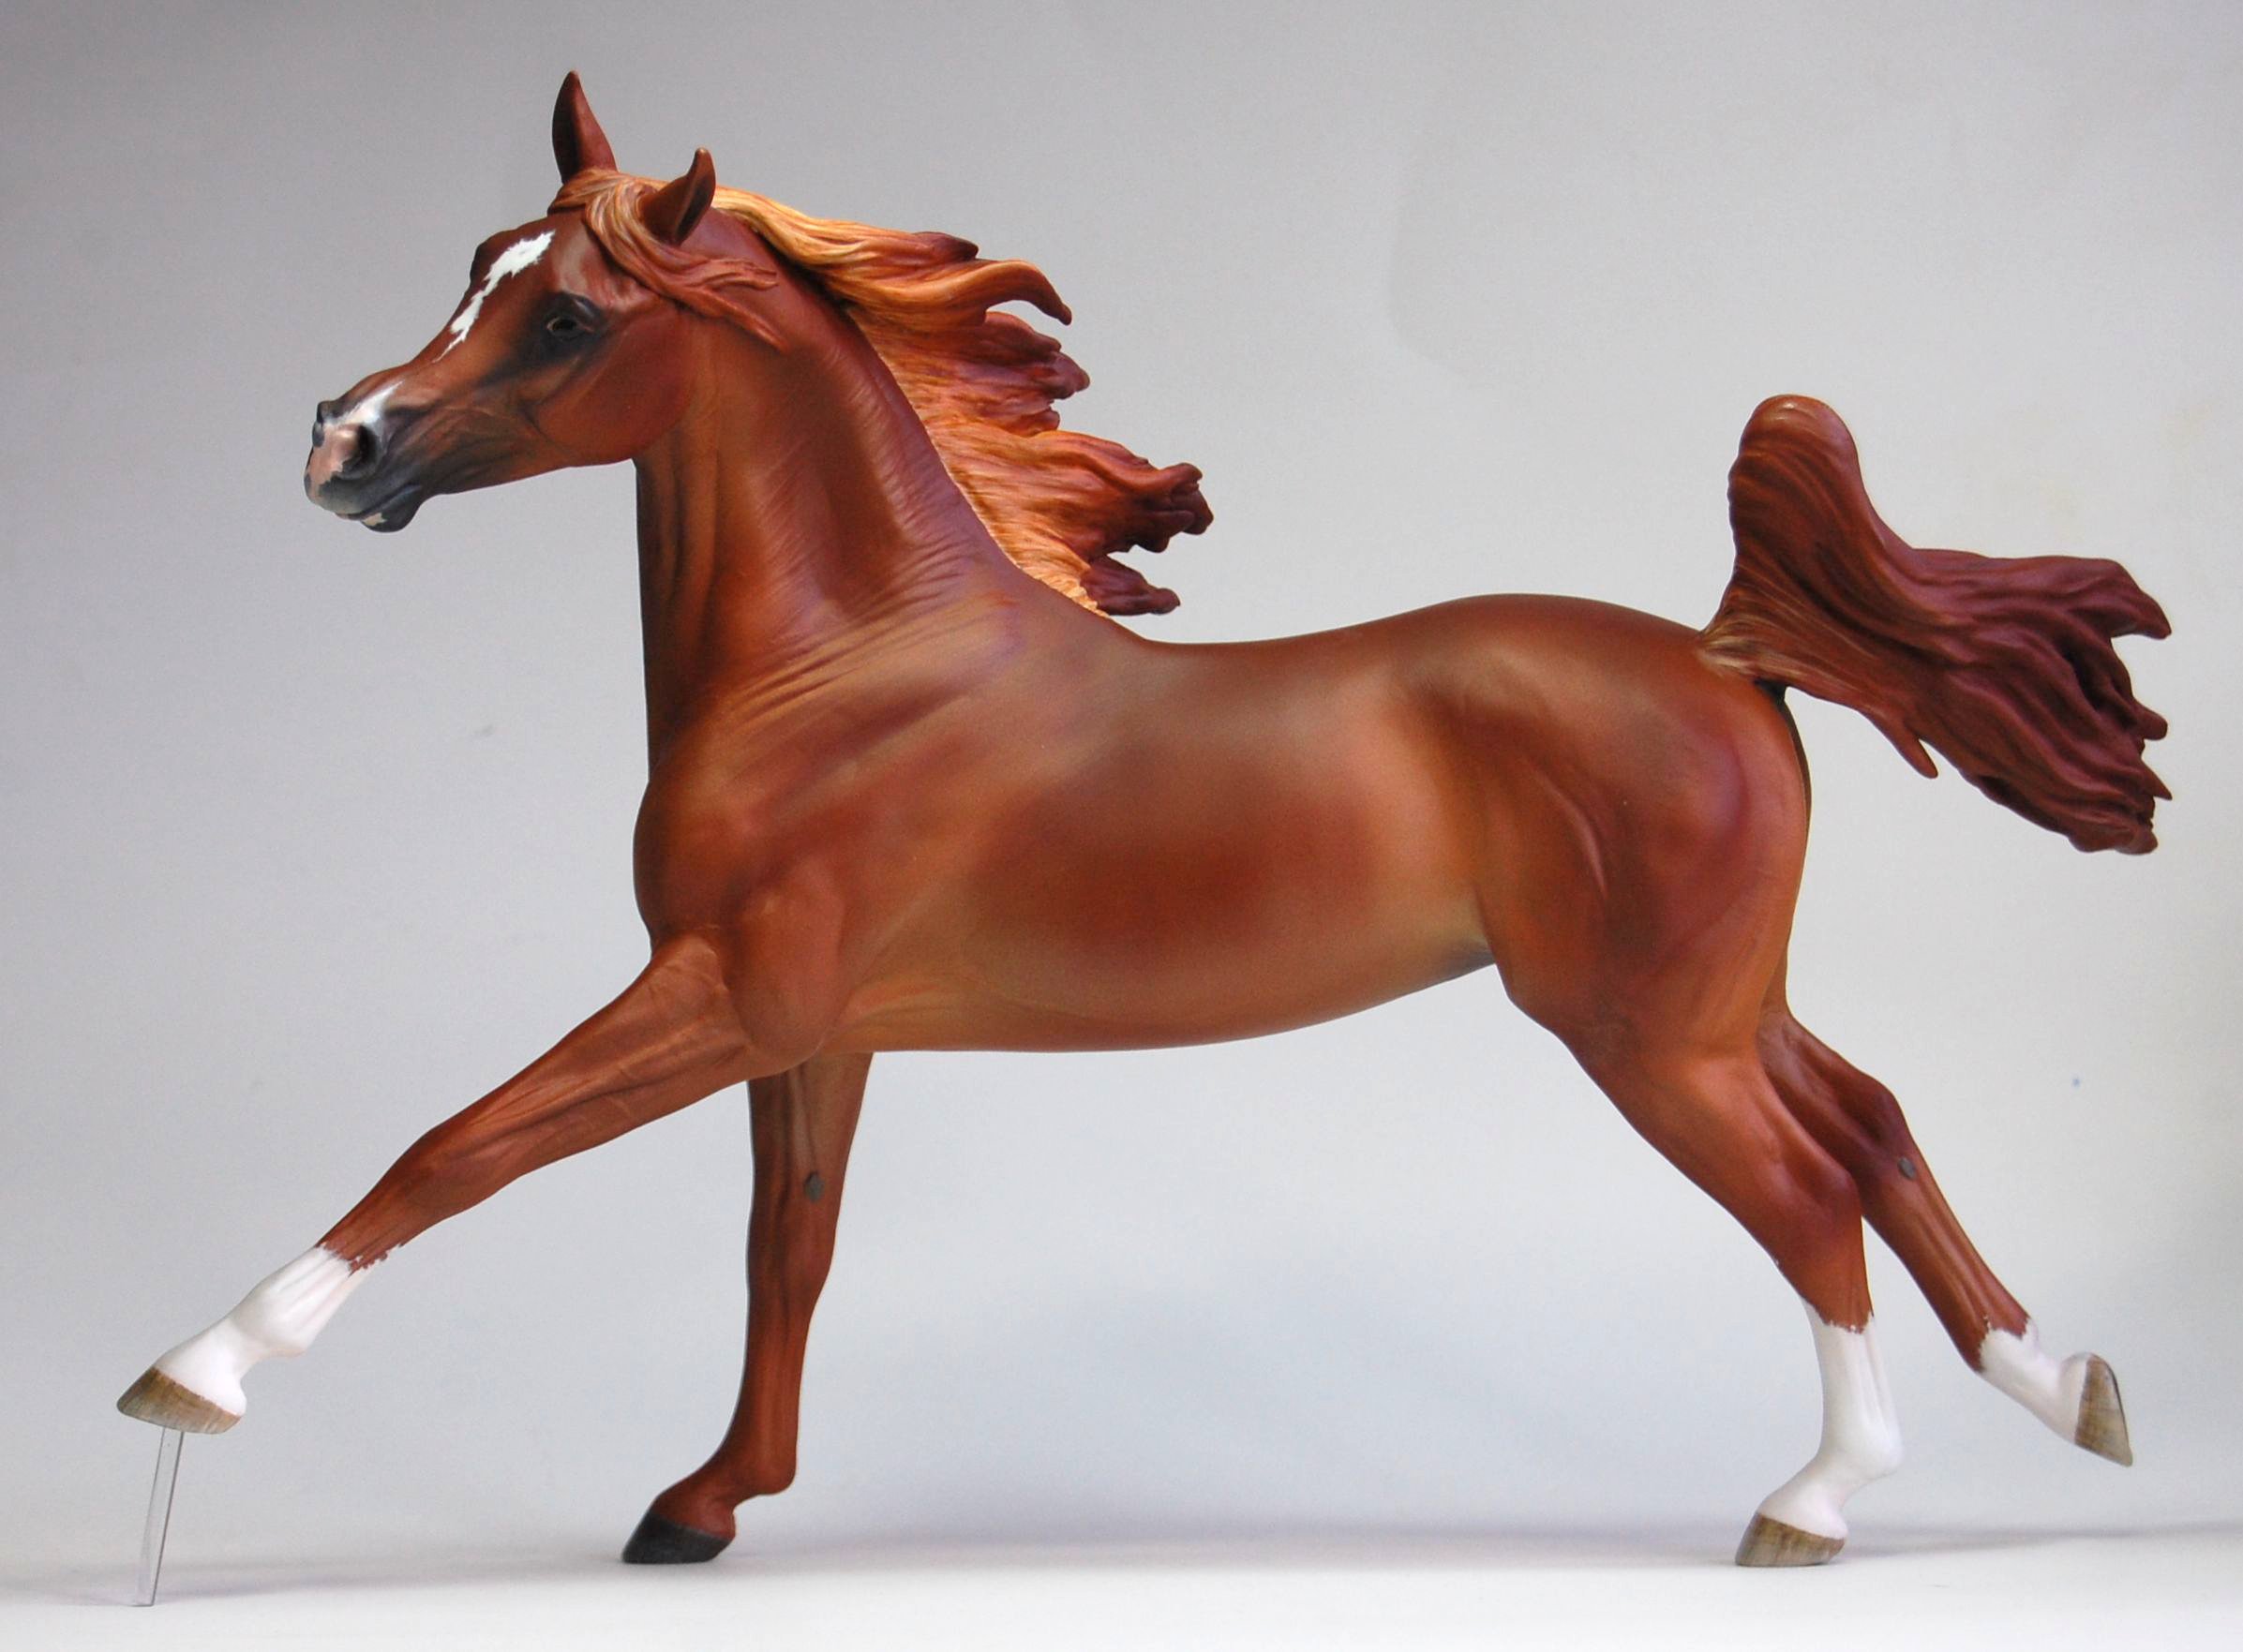
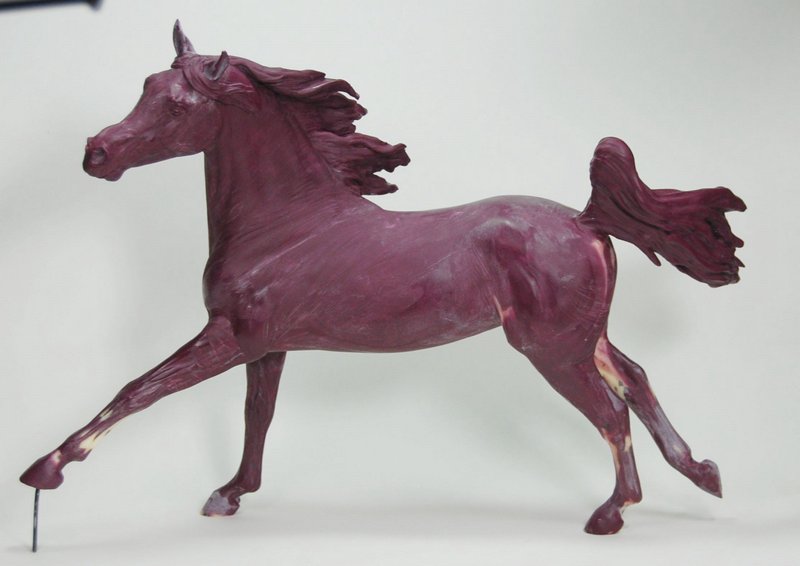
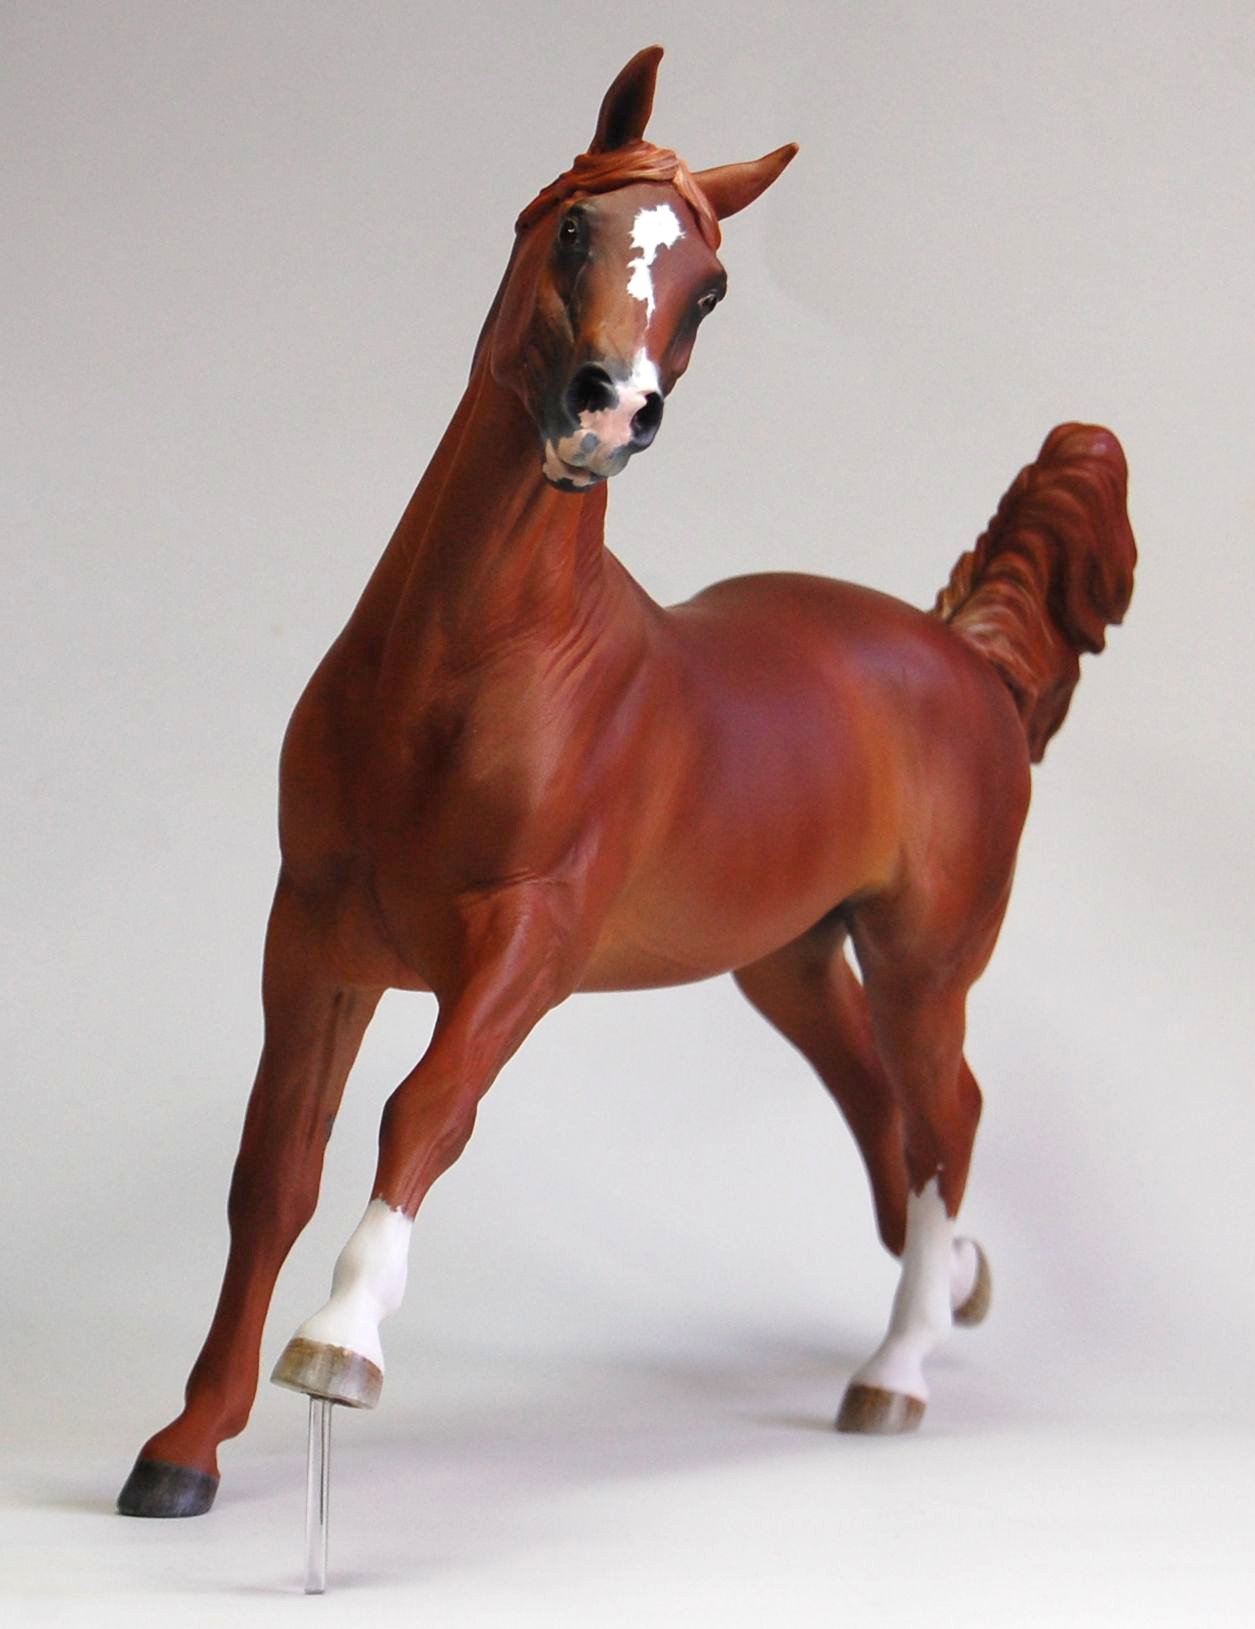
Longevity is always something to keep in mind with customs. I don't think anyone is honestly sure how well they'll hold up over the course of tens or hundreds to years, but I do know there are certain things we can do to help them last. Some, such as maintaining them in a climate-controlled environment as much as possible and avoiding sudden temperature extremes are the responsibility of the collector. But others are the responsibility of the artist! These include things like roughing up plastic areas before applying epoxy to them, so that the epoxy is able to make a firm bond, and drilling a small air hole to reduce the possibility of bloating if the piece is exposed to high temperatures. I have heard that customs in which these few simple guidelines have been followed are much more likely to hold up and bring joy for many years to come!
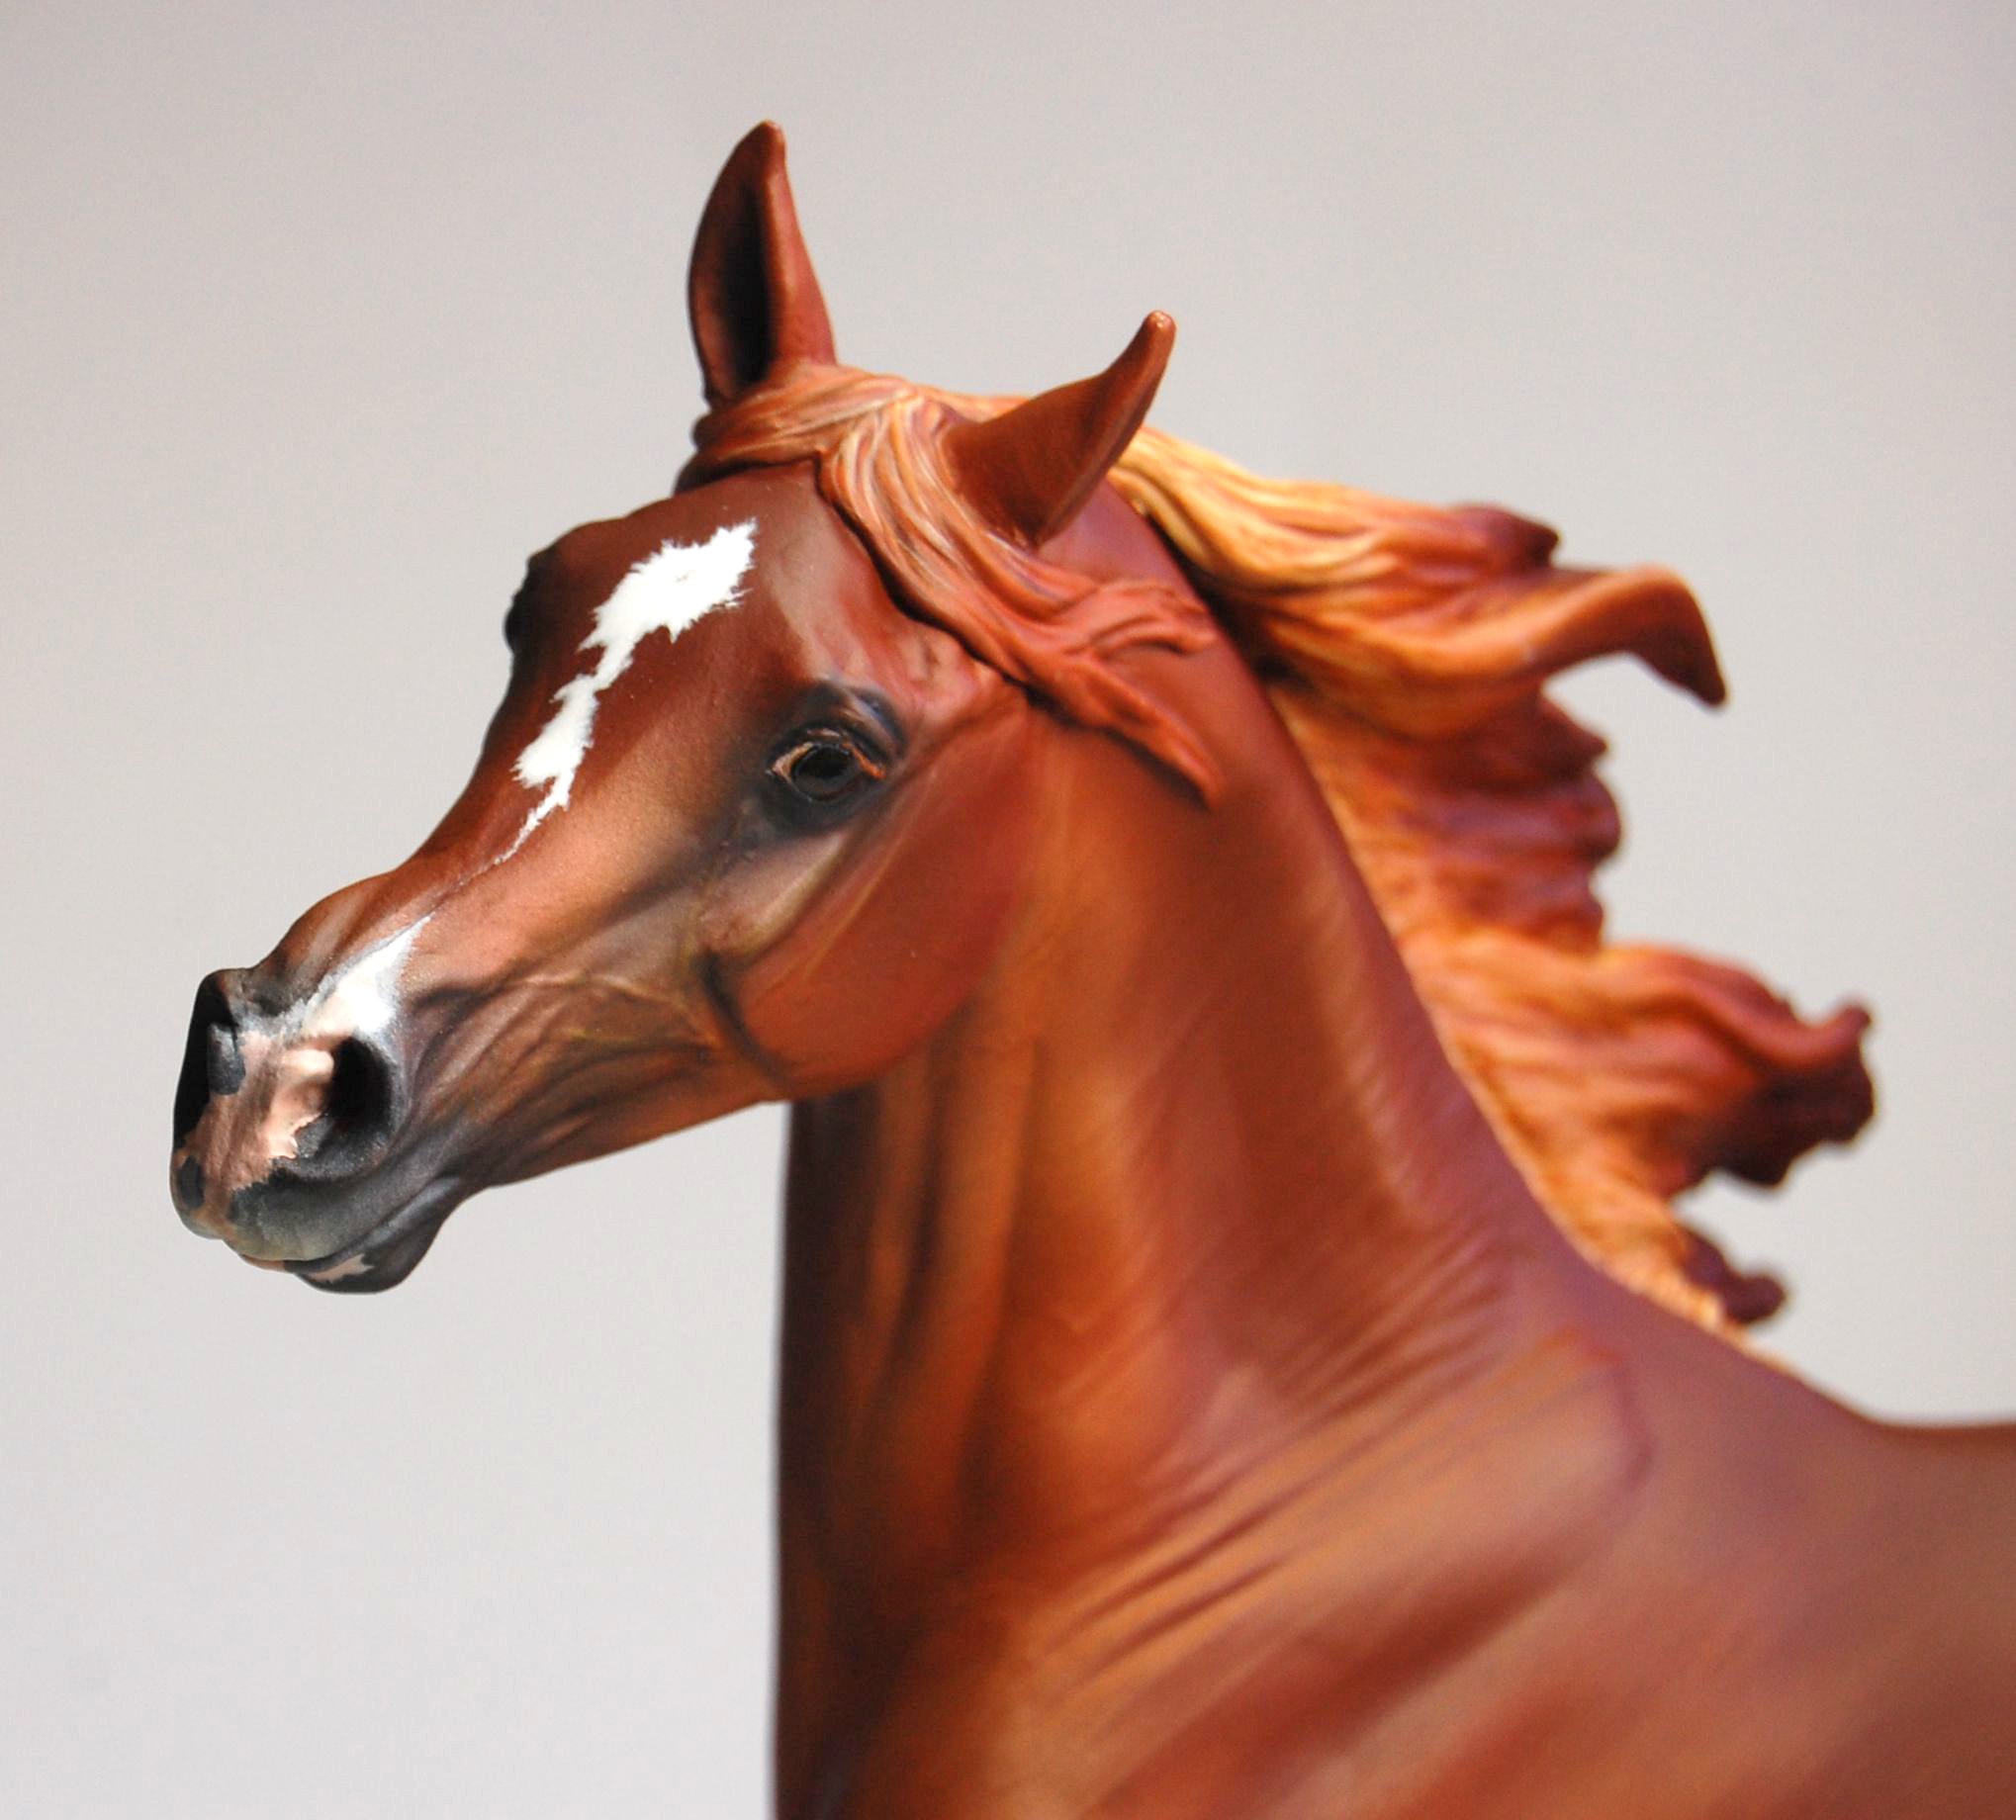
In Maysa's case, I scratched up the plastic all over the original (after I repositioned him) with an Exacto knife, making hatchmarks and deep scratches to give good adhesion. Her air hole is tucked discretely in her groin--much less noticeable than the corner of the mouth or the nostril, where many original finish plastics have their hole!
Monday, March 7, 2011
Smooth whites
Unfortunately, I don't have any magic tricks for getting nice, smooth, even white markings when painting. As far as I know, there isn't a trick to it beyond lots and lots of very thin layers to eliminate brushstrokes. I do like to seal the entire horse very well with Dull Cote, then airbrush in a thin (not fully opaque) layer of white over the markings, then clean the edges up using a bit of water, airbrush cleaner, or Windex on a q-tip or toothpick, but it's still a tedious process. I always want to rush it and then have to go back and fix things that I messed up in my rushing!
So, I'm sorry this is not a time-saver! It seems like there's no way around it if you want lovely smooth white markings!
So, I'm sorry this is not a time-saver! It seems like there's no way around it if you want lovely smooth white markings!
Friday, February 4, 2011
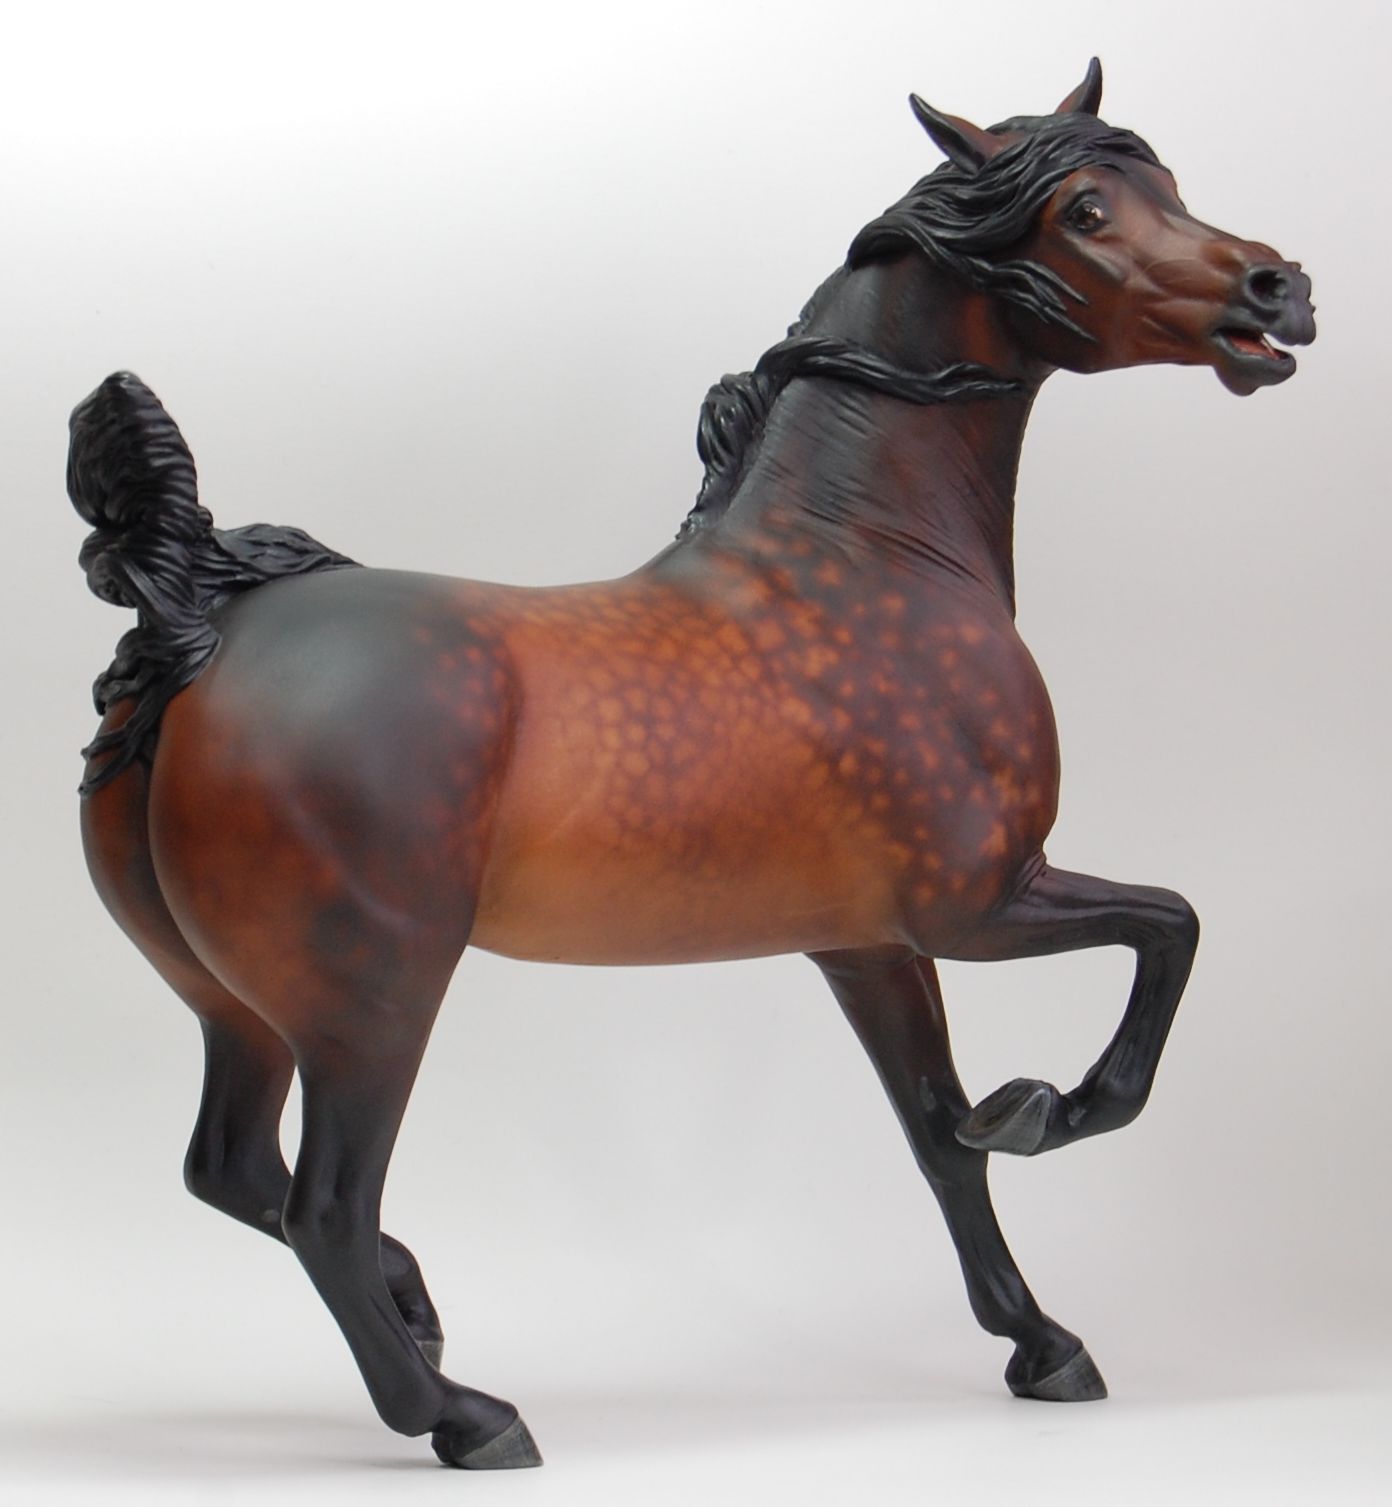
Drastic Custom FAS
Friday, January 14, 2011
Painting Desk
I have two desks that I work at--one is used for painting, the other for, well, just about everything else! I do take photos at the painting desk as it has better light and is easier to clean off. The computer is at the sculpting desk, along with piles of other stuff. Only painting stuff stays on the painting desk...

This is said desk as it normally appears. It actually looks more of a mess than it is. Nearly everything on there is in use (the can of primer on the left doesn't really need to be there, though, and neither does some of the stuff on top of the storage containers--the Visible Horse model probably belongs on the sculpting desk, for instance). From the left:
Paints--they're in craft paint containers, but they are excellent artist quality acrylics. The little bottles are cheaper to buy with paint in them, so I empty the cheap paint out and clean the containers before putting my good paint mixes in them.
Paintbrushes--in an old mug, stored points up and kept clean. They last much better this way! And I can always find the one I need.
White drawers (in the back)--each drawer is a tray containing pure pigments. I work over the trays when I use pigments, so the dust that falls off the horse ends up back in the tray instead of on me, the floor, the walls...
Lights--three of them. Daylight fluorescent, the more, the better!
On the base of the light--a horse (color master for an edition I recently painted) and a pencil sharpener
Various papers--I save some paper from going in the recycling. I use it to check colors and the airbrush flow--much better to find out that a mix is too thick and is going to spatter on a bit of scrap paper than on the horse!
Paper towels--always useful. I tend to spray water through my airbrush onto paper towels as I clean it.
The horse--this one is a drastic CM. He has three colors on him now--a golden tone underneath, brown, and black on his points only (oh, and some grey on his face). Next step will be adding additional colors into his brown tones. Other horses that I am working on are on shelves above the desk, safely out of reach of any overspray from the airbrush.
Underneath the horse--paintbrushes, Q-tips (useful for cleaning the airbrush), and a lid that I mixed some black paint in. And some colored pencils--they normally live in the white tray just to the left of the computer monitor.
Behind the horse--jar of clean-ish water for rinsing brushed in. More paints.
Between horse and lamp on right--small containers for mixing paint in. Bottle of ink.
Behind lamp on right--jar of dirty water. I rinse my airbrush into this one.
Edge of desk--my airbrush, on two hooks that keep it upright. Blue painter's tape for delicate surfaces--useful for masking, and I tend to reuse it a few times.
Above the airbrush--paints, bottle of airbrush cleaner, small squirt bottle of water. I love that squirt bottle--I use to to clean out the airbrush, to add a drop of water to a paint mix--any time I need a controllable amount of clean water that bottle is right there.
Computer monitor--it's hooked up to my laptop on the other desk. I use it for reference photos. This one is a photo I took a number of years ago, but sometimes I will have three or four different images up there at once.
Back of the desk--storage for paints and pigments.
Cotton balls--occasionally useful.
Below desk--drawers which contain all my regularly used paints and mediums, all at my fingertips. Also, a power strip with the lights on this desk, the monitor, and my air compressor plugged into it. I can turn everything on or off with the flip of a switch.
My air compressor lives in the closet, which helps to muffle the sound a bit. It's not specifically an airbrush compressor, so it is a bit loud.
I know it looks like a mess, and honestly it could probably be a touch neater, but I kind of like it this way--everything is right where I need it, and when I want to clean off the desk everything tucks away very easily.

This is said desk as it normally appears. It actually looks more of a mess than it is. Nearly everything on there is in use (the can of primer on the left doesn't really need to be there, though, and neither does some of the stuff on top of the storage containers--the Visible Horse model probably belongs on the sculpting desk, for instance). From the left:
Paints--they're in craft paint containers, but they are excellent artist quality acrylics. The little bottles are cheaper to buy with paint in them, so I empty the cheap paint out and clean the containers before putting my good paint mixes in them.
Paintbrushes--in an old mug, stored points up and kept clean. They last much better this way! And I can always find the one I need.
White drawers (in the back)--each drawer is a tray containing pure pigments. I work over the trays when I use pigments, so the dust that falls off the horse ends up back in the tray instead of on me, the floor, the walls...
Lights--three of them. Daylight fluorescent, the more, the better!
On the base of the light--a horse (color master for an edition I recently painted) and a pencil sharpener
Various papers--I save some paper from going in the recycling. I use it to check colors and the airbrush flow--much better to find out that a mix is too thick and is going to spatter on a bit of scrap paper than on the horse!
Paper towels--always useful. I tend to spray water through my airbrush onto paper towels as I clean it.
The horse--this one is a drastic CM. He has three colors on him now--a golden tone underneath, brown, and black on his points only (oh, and some grey on his face). Next step will be adding additional colors into his brown tones. Other horses that I am working on are on shelves above the desk, safely out of reach of any overspray from the airbrush.
Underneath the horse--paintbrushes, Q-tips (useful for cleaning the airbrush), and a lid that I mixed some black paint in. And some colored pencils--they normally live in the white tray just to the left of the computer monitor.
Behind the horse--jar of clean-ish water for rinsing brushed in. More paints.
Between horse and lamp on right--small containers for mixing paint in. Bottle of ink.
Behind lamp on right--jar of dirty water. I rinse my airbrush into this one.
Edge of desk--my airbrush, on two hooks that keep it upright. Blue painter's tape for delicate surfaces--useful for masking, and I tend to reuse it a few times.
Above the airbrush--paints, bottle of airbrush cleaner, small squirt bottle of water. I love that squirt bottle--I use to to clean out the airbrush, to add a drop of water to a paint mix--any time I need a controllable amount of clean water that bottle is right there.
Computer monitor--it's hooked up to my laptop on the other desk. I use it for reference photos. This one is a photo I took a number of years ago, but sometimes I will have three or four different images up there at once.
Back of the desk--storage for paints and pigments.
Cotton balls--occasionally useful.
Below desk--drawers which contain all my regularly used paints and mediums, all at my fingertips. Also, a power strip with the lights on this desk, the monitor, and my air compressor plugged into it. I can turn everything on or off with the flip of a switch.
My air compressor lives in the closet, which helps to muffle the sound a bit. It's not specifically an airbrush compressor, so it is a bit loud.
I know it looks like a mess, and honestly it could probably be a touch neater, but I kind of like it this way--everything is right where I need it, and when I want to clean off the desk everything tucks away very easily.
Wednesday, December 22, 2010
Packaging tip
This is going to be a quick one as I'm actually with my family now, but--
When packaging a model to mail, I think one of the most important things is to make sure there is enough packing material to fill the box. I use packing peanuts (I bought 120 cubic feet of them at once, that's a LOT of packing peanuts) and bubble wrap over toilet paper. I wrap ears and other protruding parts with the tissue. I wrap around the dock, for instance, in a way that will provide support rather than adding to the stress on the piece. Then a good layer of bubble wrap, then into a box big enough to have at least 2-3" of room all the way around the bubble wrapped horse. More space is better, but you don't want the box to be so big that you need a fortune in packing peanuts to fill it.
I put a good 2" or more of peanuts in the box, then put in the bubble wrapped horse, then fill the box with peanuts, tucking them in around the sides of the horse. When you close the box, before taping the top pick it up and shake it gently. If there is any shifting at all, you need more peanuts. Shifting is a danger sign--it means you model will be able to work its way to the edge of the box and get broken. So use lots of packing material so there is no danger of shifting. I tend to fill the box to slightly over the edge, then gently push the peanuts down when I close the box. You don't want there to be so much pressure on the horse that it is in danger of breaking, but you don't want it to move around either!
When packaging a model to mail, I think one of the most important things is to make sure there is enough packing material to fill the box. I use packing peanuts (I bought 120 cubic feet of them at once, that's a LOT of packing peanuts) and bubble wrap over toilet paper. I wrap ears and other protruding parts with the tissue. I wrap around the dock, for instance, in a way that will provide support rather than adding to the stress on the piece. Then a good layer of bubble wrap, then into a box big enough to have at least 2-3" of room all the way around the bubble wrapped horse. More space is better, but you don't want the box to be so big that you need a fortune in packing peanuts to fill it.
I put a good 2" or more of peanuts in the box, then put in the bubble wrapped horse, then fill the box with peanuts, tucking them in around the sides of the horse. When you close the box, before taping the top pick it up and shake it gently. If there is any shifting at all, you need more peanuts. Shifting is a danger sign--it means you model will be able to work its way to the edge of the box and get broken. So use lots of packing material so there is no danger of shifting. I tend to fill the box to slightly over the edge, then gently push the peanuts down when I close the box. You don't want there to be so much pressure on the horse that it is in danger of breaking, but you don't want it to move around either!
Subscribe to:
Posts (Atom)

 Posts
Posts

