

Wednesday, June 24, 2015
Apoxie Sculpt colors

Saturday, June 13, 2015
Old sculpting
I have to do a bit of carving on Bill, and it's interesting to see how differently I did some things then. For example...
 Bill has aluminum foil bulking him out, not only in his body but all the way down into his legs! I did this to save on the relatively expensive Apoxie Sculpt. At the time, it seemed like such a good idea! Now, I make sculptures solid or nearly so. Having to fight with aluminum foil isn't worth the savings in Apoxie now!

Thursday, June 11, 2015

Wednesday, June 10, 2015
Some current sculptures in progress
I've been busy here as usual! Going to try and update this blog a little more regularly, though entries might be brief. For now, here's some of the horses I'm working on!


Some micro minis, Penumbra, and Bill

Minis: Zap (walking qh), Spark (bucking foal), Squirrel! (striking stallion). Traditionals Tumbleweed and Whirlwind

The micro minis!
Friday, January 17, 2014
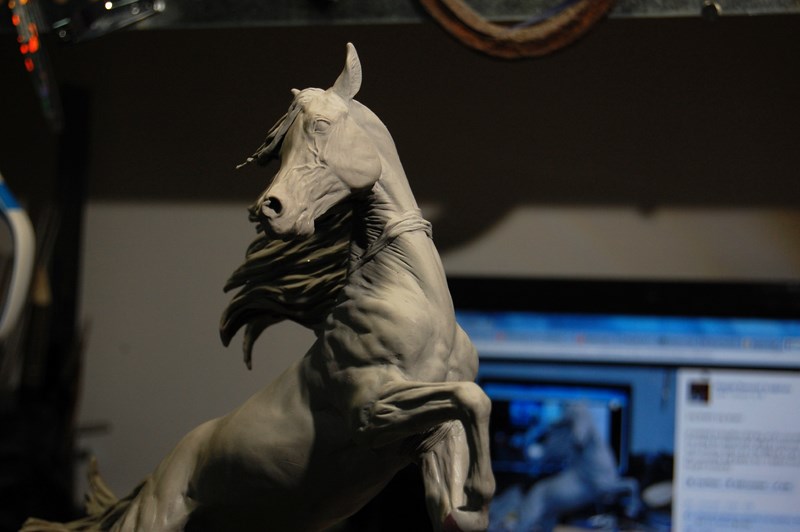
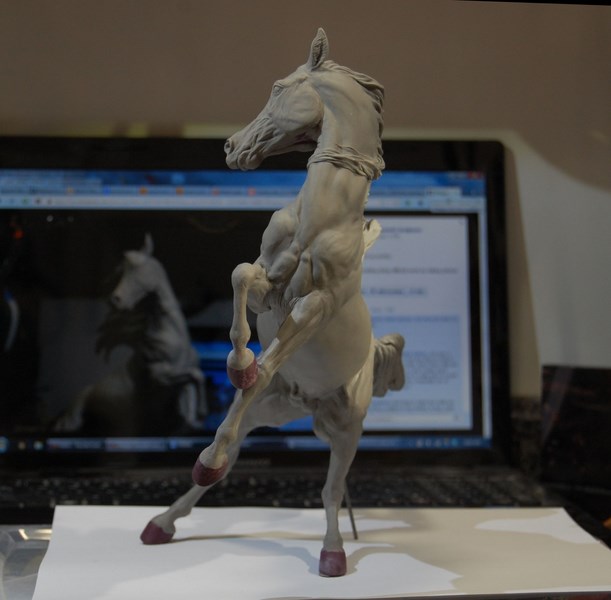
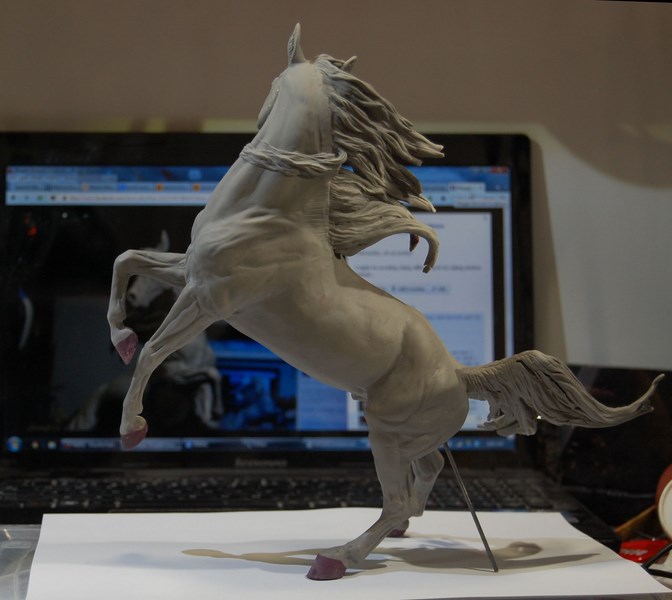
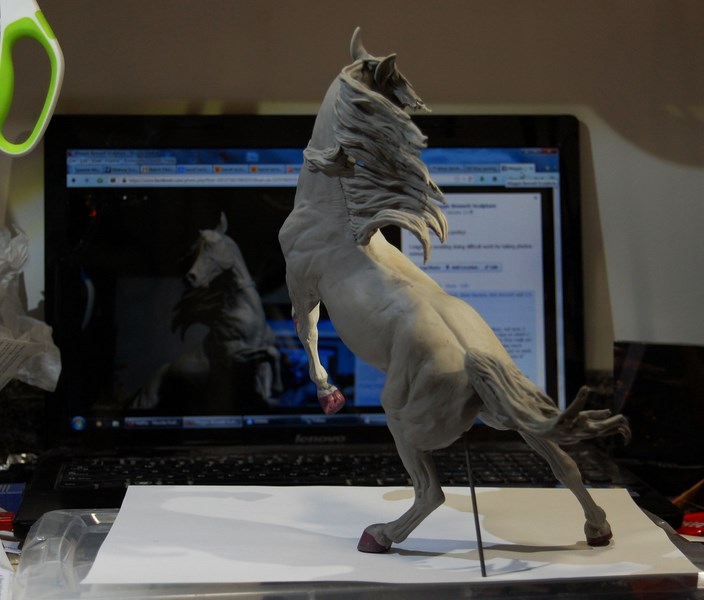
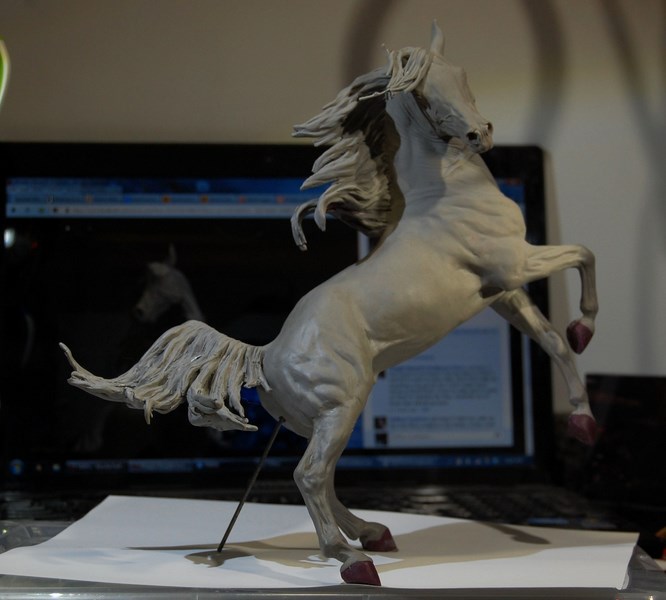
Umbra again!
Still working on Umbra (see his broken forelock? Half-baked Super Sculpey is fragile!), but he's getting very close!
I'm starting a list of email addresses for those who would like to receive an email when I release him--send your address to me (maggie@maggiebennett.com) if you'd like to be on that list! I will be doing a limited number of pre-orders on him. That information will come out in the next week or so, I just want to have him very close to being finished before I start selling at all. The pre-orders will be $230 plus shipping/handling, which is $15 in the USA, $40 otherwise). His release price may be different; I still don't have a quote on his base because I haven't designed it yet!


Monday, November 25, 2013
Umbra and Facebook

I'm clearly not very good at updating this blog! One reason is that it's just a bit more work than, say, putting pictures on Facebook. Not a lot, mind, but a little--and since I'm on Facebook anyway, coming over here isn't something I remember often! I'm still going to try to, but in the meantime, I've been posting a lot on my studio Facebook page at https://www.facebook.com/maggiebennettsculpture, including progress photos of this new sculpture, Umbra. He's not nearly done, but I just love how he's turning out so far!
Wednesday, January 2, 2013
Mirrors
I'm working on version 2 of Trenzado, and that means resculpting the other side of his face since his hair will not be covering it (I actually did sculpt it originally and then covered it with hair, though I didn't fully detail it out with wrinkles and whisker bumps and everything). Since I'm doing v2 from a resin cast, there's no way to recover any of that detail so it all has to be rebuilt.
Of course faces are pretty much symmetrical, which is always a bit of a challenge. Here's what I do:

A mirror! This one conveniently stands on its own and came from IKEA but they're available everywhere (you probably already have one). A hand mirror works ok, and is what I used until recently, but this makes it a bit easier to sculpt while looking at the other side. Getting the lighting just right, so both sides are lit evenly, can be a bit of a challenge, but it's doable.
And yep, standard messy desk and references in the background.
Of course faces are pretty much symmetrical, which is always a bit of a challenge. Here's what I do:

A mirror! This one conveniently stands on its own and came from IKEA but they're available everywhere (you probably already have one). A hand mirror works ok, and is what I used until recently, but this makes it a bit easier to sculpt while looking at the other side. Getting the lighting just right, so both sides are lit evenly, can be a bit of a challenge, but it's doable.
And yep, standard messy desk and references in the background.
Friday, July 27, 2012
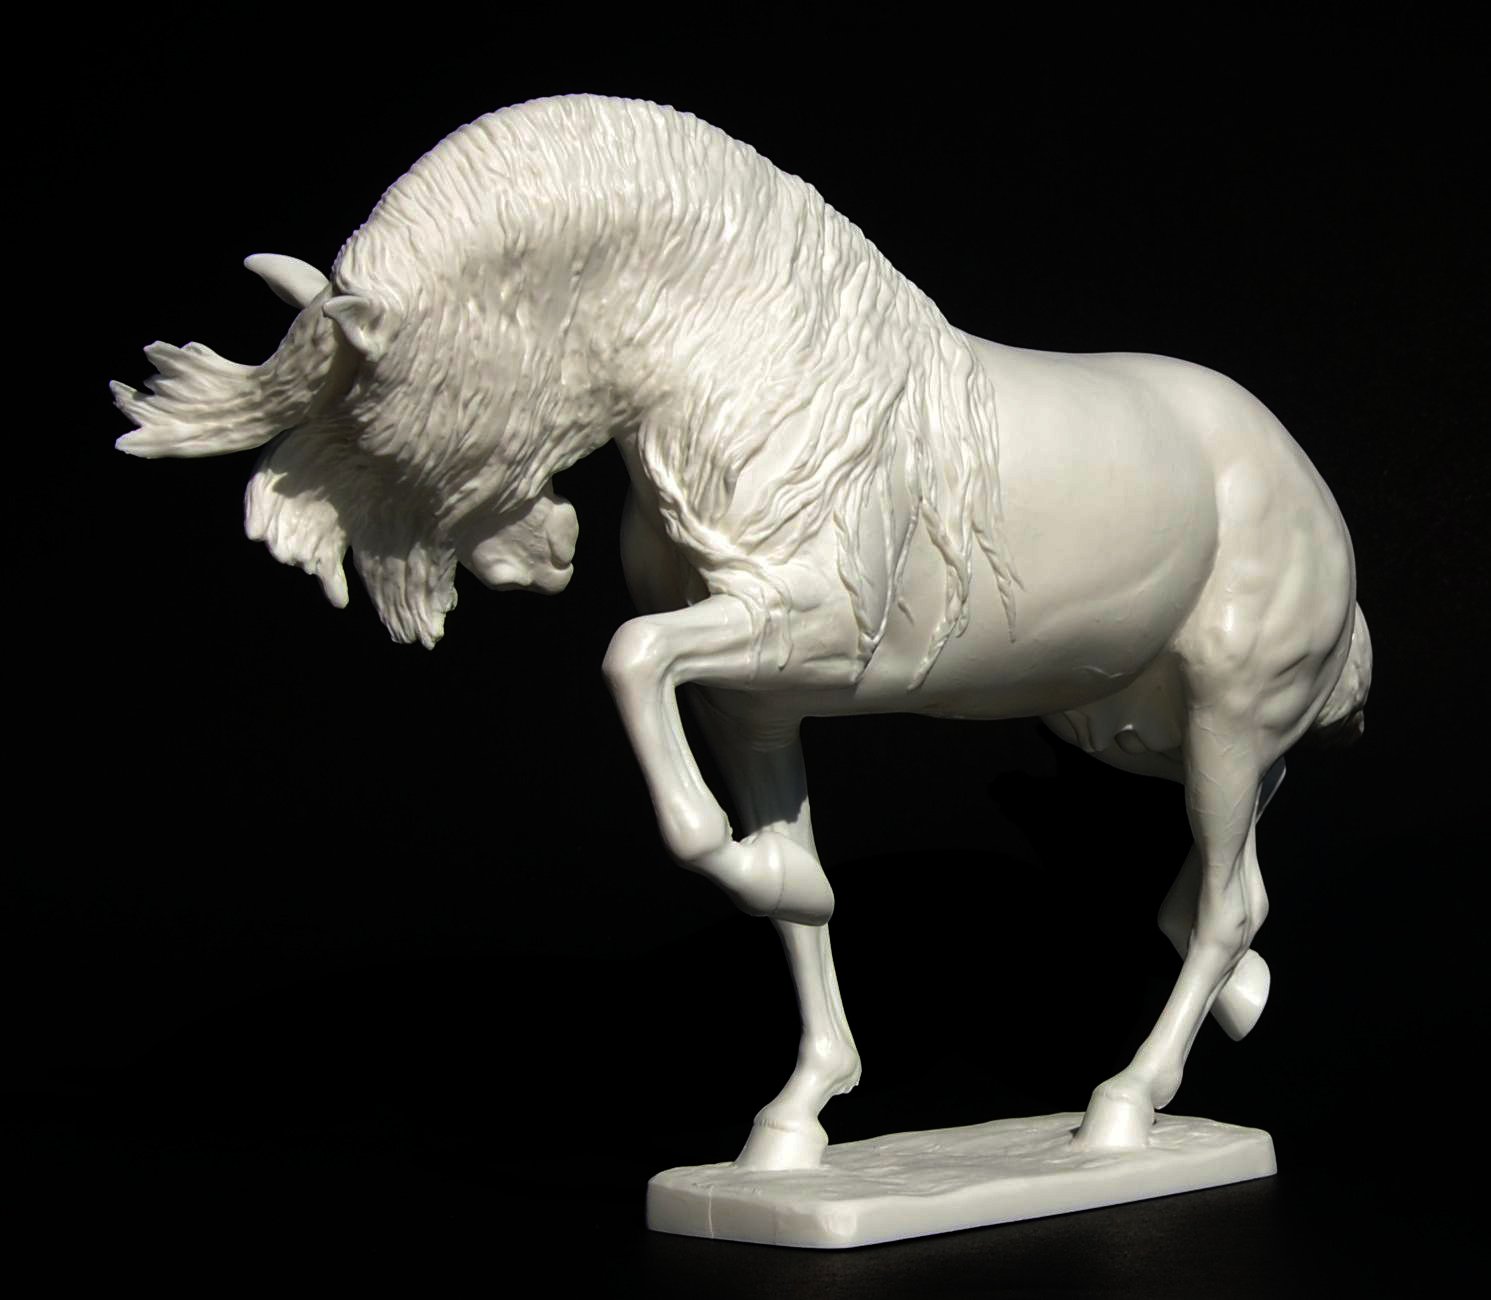
Trenzado is now available!

I'm just about typed out, so I'm going to keep this brief--Trenzado is available now! He's going to be an edition of about 100 in this version (there will be a second version with a different mane) plus 20 or so artist's proofs, depending on how his molds hold up. Lots of pictures and ordering information at http://maggiebennett.com/trenzado.htm
Tuesday, June 12, 2012
Trenzado
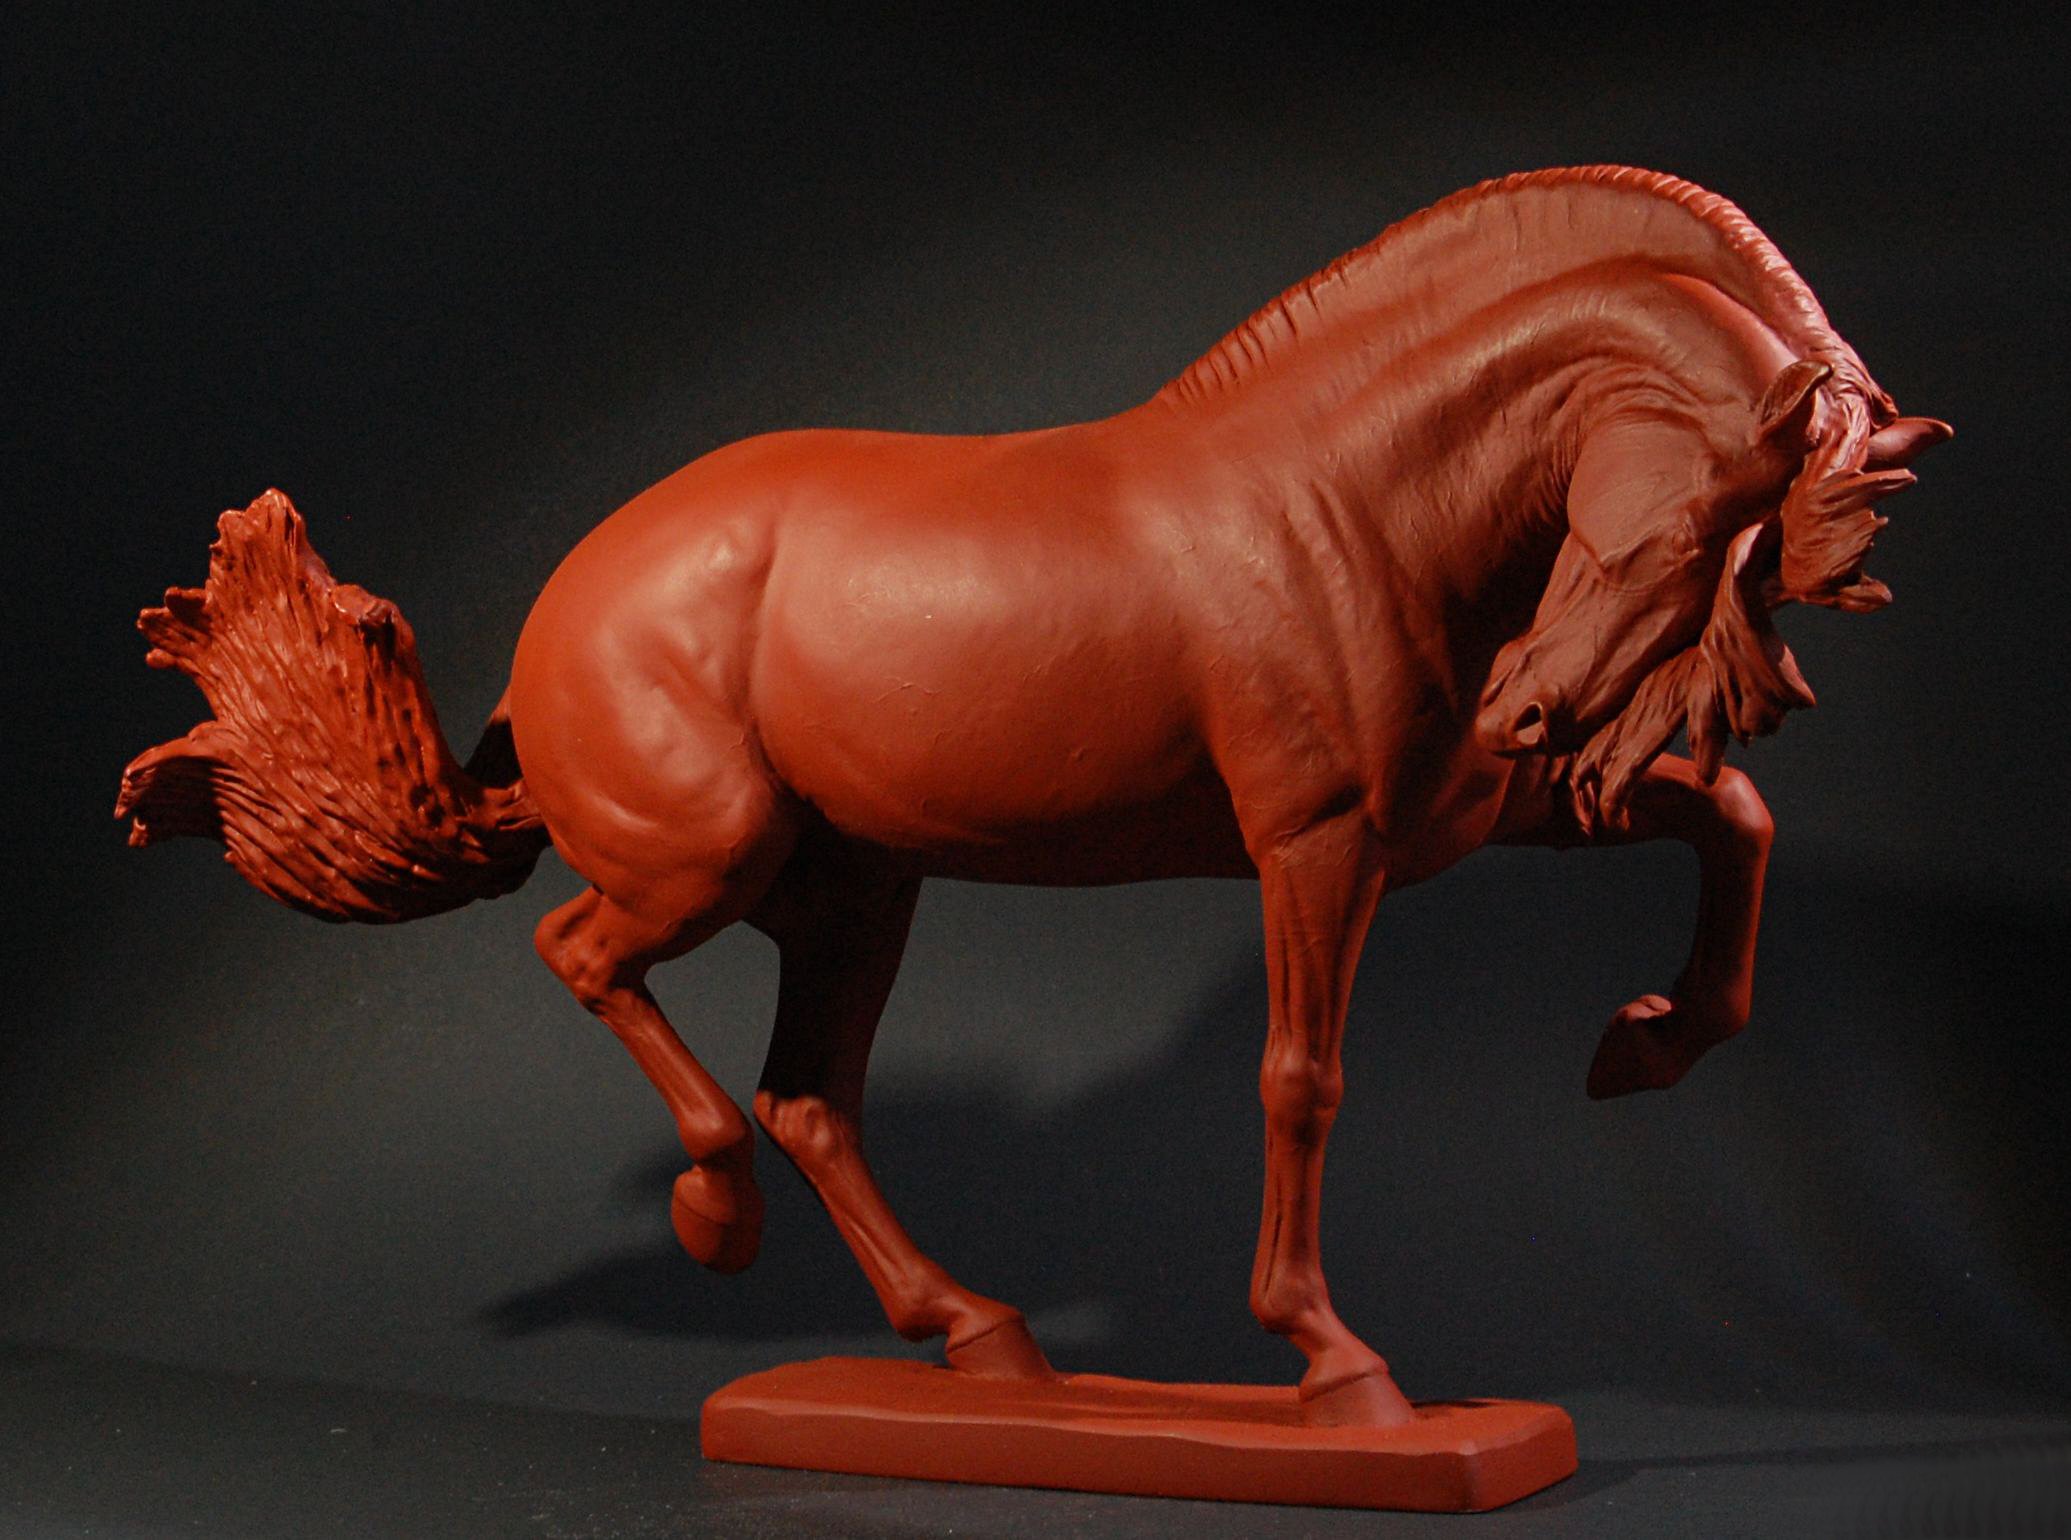
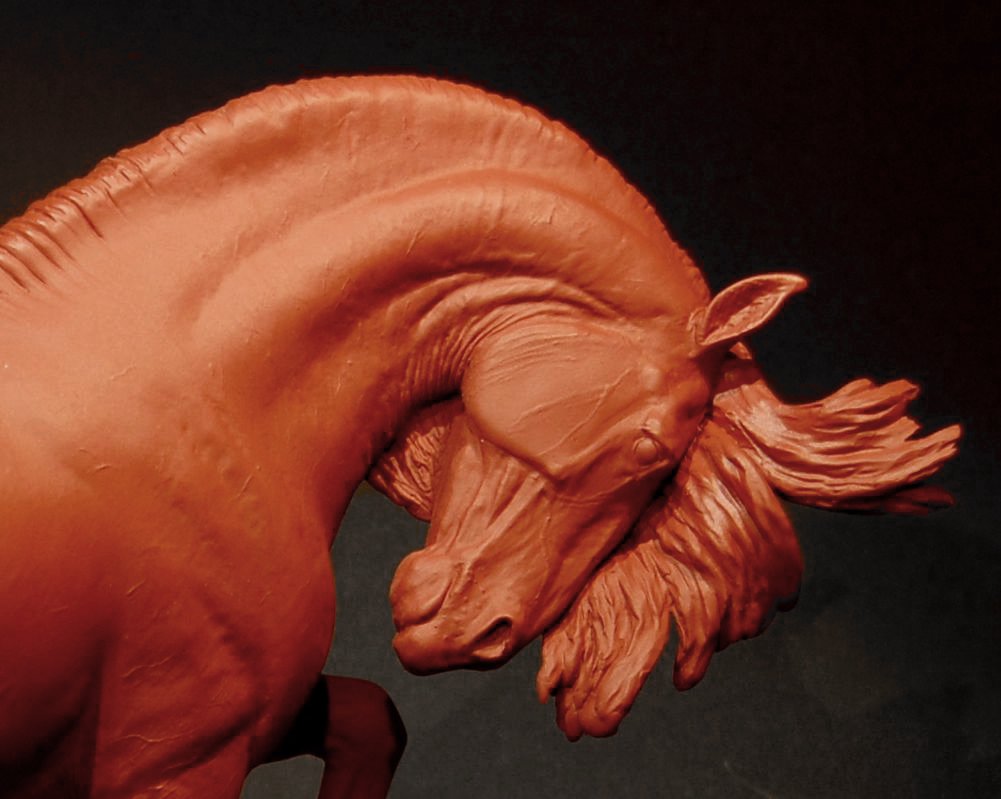
I have seriously neglected this blog, mostly because I've just been so busy making horses! My latest sculpture was just finished last week and is already at MVS being molded. You can see (and order) him at http://maggiebennett.com/trenzado.htm
 I'm really looking forward to getting the first resins of him, which if all goes well will be in just a few weeks! I'm spending those weeks trying to finish everything else that needs to be done so that when he comes in I might be able to paint one or two in time for Breyerfest.

Speaking of Breyerfest, I'm going to have a booth (along with Morgen Kilbourn) in the Covered Arena! Do stop by and see me if you're going to be there! I'll have resins, micro minis, and all sorts of goodies!

In the meantime, back to cleaning and shipping Superluminas and finishing commissions! :-) I'll try and get a post with some sculpting or painting tips up here soon.
Speaking of Breyerfest, I'm going to have a booth (along with Morgen Kilbourn) in the Covered Arena! Do stop by and see me if you're going to be there! I'll have resins, micro minis, and all sorts of goodies!

In the meantime, back to cleaning and shipping Superluminas and finishing commissions! :-) I'll try and get a post with some sculpting or painting tips up here soon.
Wednesday, December 21, 2011
Superlumina is now available!
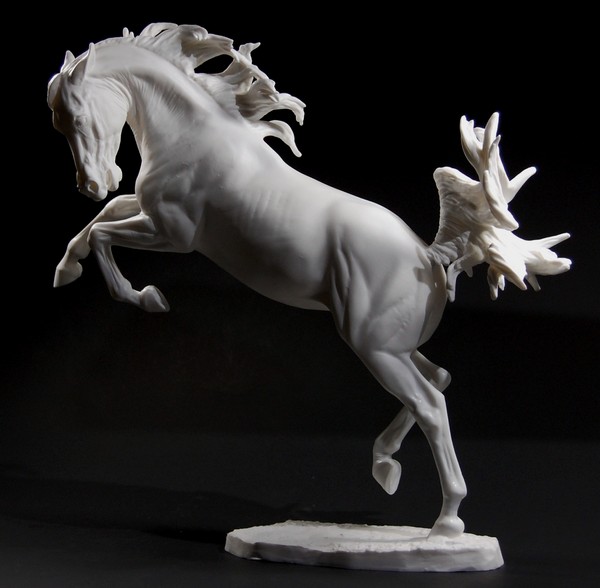
I just realized I haven't posted here since October--bad Maggie! I have just been unbelievably busy with a number of project--from paint work commissions, to finishing Superlumina, to a number of other commissions.

One of those other projects is now available for purchase: a Bantam scale Secretariat edition, sculpted by me and each painted by Caroline Boydston! They're pretty darn neat, if I say so myself, and available at http://secretariatcom.stores.yahoo.net/little-big-red-figurine.html There's going to be a Zenyatta one too, in the same scale, and they are pretty awesome as well. I'm not sure when those will be available for sale to the public, but the first few were released at Zenyatta's Breeder's Cup party.

My biggest thing lately, though, has been Superlumina: http://www.maggiebennett.com/superlumina.htm. I released her (first to Supernova purchasers, and then to everyone) and just got the first resins in, cleaned up, and ready to ship out (yep, the first eight should be shipping to their owners tomorrow, if all goes well). And I have to say, the response to her has been phenomenal. She's already about half sold out. Personally I can't wait until I have a bit of time so I can paint one for myself, though I don't know if that time is ever going to come! I'm going to be painting a number of them as commissions as well, so that will be fun.
Back to working on a base to put Supernova at the same level as Superlumina!
Friday, October 7, 2011
Just keep working...

Tuesday, September 27, 2011
Superlumina
BreyerFest has come and gone, and now months later I'm finally making another blog post! I have been incredibly busy, mostly with a variety of painting and sculpting commissions, but also with pretty Miss Superlumina! I made this neat little interactive video thing with her as she is right now: http://www.shoogleit.com/1250-0_Superlumina-In-Progress
I've been making a lot of little changes to her--her mane and tail changed totally, but I also adjusted her position, refined her legs, adjusted some proportions, etc. A lot of that has been done in the last week, and everything that isn't grey on her was among those changes this week. She's certainly not finished, but I do think she really is getting there.
On top of that I have been painting (all commissions, no sales pieces right now) and sculpting (customs and original sculptures, but again--all commissions!), so there hasn't been much time or energy for posting. But a lot of my deadlines for various projects are coming up in the next month, so hopefully once all are done I will have a bit of breathing room. I love being busy, but sometimes it gets to be a bit much!
And, in case the Shoogleit interactive video doesn't work, here's Superlumina!

I've been making a lot of little changes to her--her mane and tail changed totally, but I also adjusted her position, refined her legs, adjusted some proportions, etc. A lot of that has been done in the last week, and everything that isn't grey on her was among those changes this week. She's certainly not finished, but I do think she really is getting there.
On top of that I have been painting (all commissions, no sales pieces right now) and sculpting (customs and original sculptures, but again--all commissions!), so there hasn't been much time or energy for posting. But a lot of my deadlines for various projects are coming up in the next month, so hopefully once all are done I will have a bit of breathing room. I love being busy, but sometimes it gets to be a bit much!
And, in case the Shoogleit interactive video doesn't work, here's Superlumina!

Wednesday, July 13, 2011
BreyerFest!

Last minute plans being what they are, I am now going to BreyerFest! And I have a table in the Artisan's Gallery (in the Clarion/Holiday Inn North ballroom)! I myself will not be arriving until Friday, so Thursday night my table will be manned by a helper. She will have some items there Thursday and I will have some more to add on Friday.
I have some really awesome new items to release, including two new small-scale pieces (one of which is pictured above)! I'll also have painted and unpainted resins and all the available micro minis. I'll even have a few brand new pewter pins--a new venture for me! I only have eight right now (four each of two different sculptures), so if you're interested in checking those out come by Friday!
One of the pieces I'll be releasing is a awesome project that's been in the works for a year. It's a *painted* edition of 60 pieces, about 2" tall, and let's just say it's a very famous horse. Stop by my table to check it out--starting Thursday.
I'll have my newest sculpture in the works there as well! Lots of goodies to check out. Again, she'll be arriving with me on Friday, so do try to stop by Friday or Saturday if you can!
Friday, May 20, 2011
Artan: New Release!
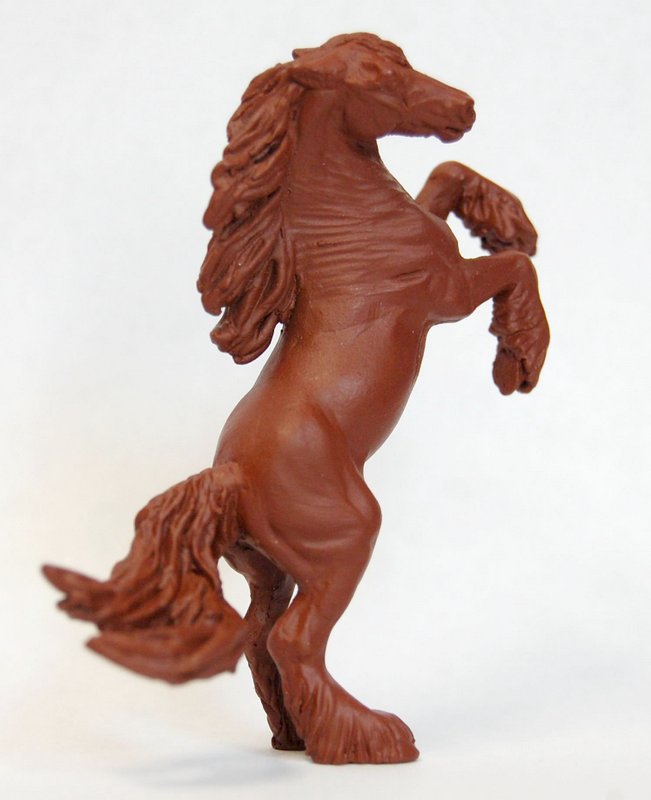
I am just exhausted today, so I don't have too much to say beyond what's on his page, but the little cob is finished, in the mail to the caster, and ready to order! More info at http://maggiebennett.com/artan.html
Thursday, May 12, 2011
Superluminal Motion
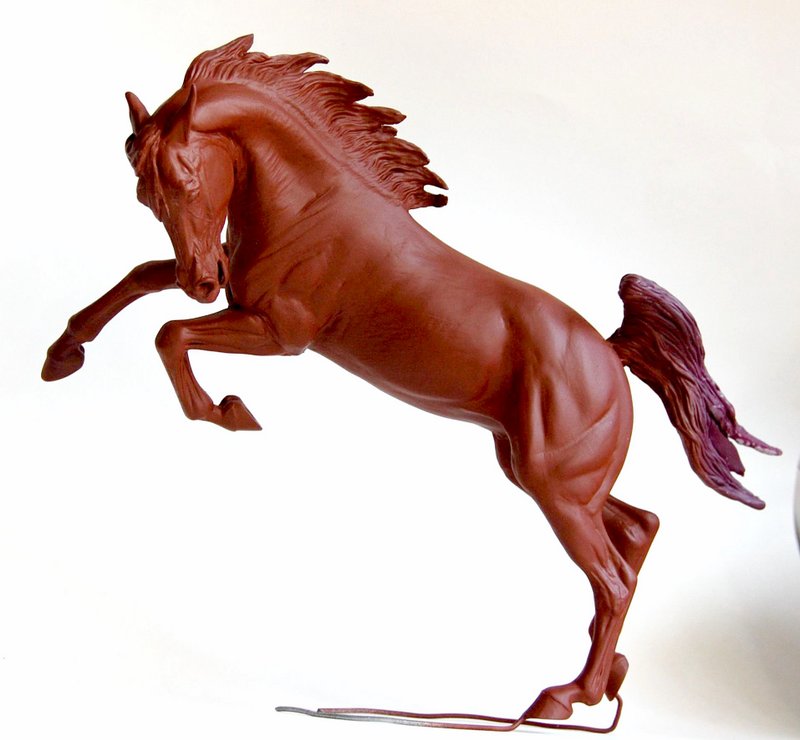
I was looking for a name for this new Arabian mare that would "fit" with Supernova, who she goes with. "Superluminal motion" is motion that appears to be faster than the speed of light, and I thought it works for her--though I think it will be just Superlumina, or Lumina. Anyhow...
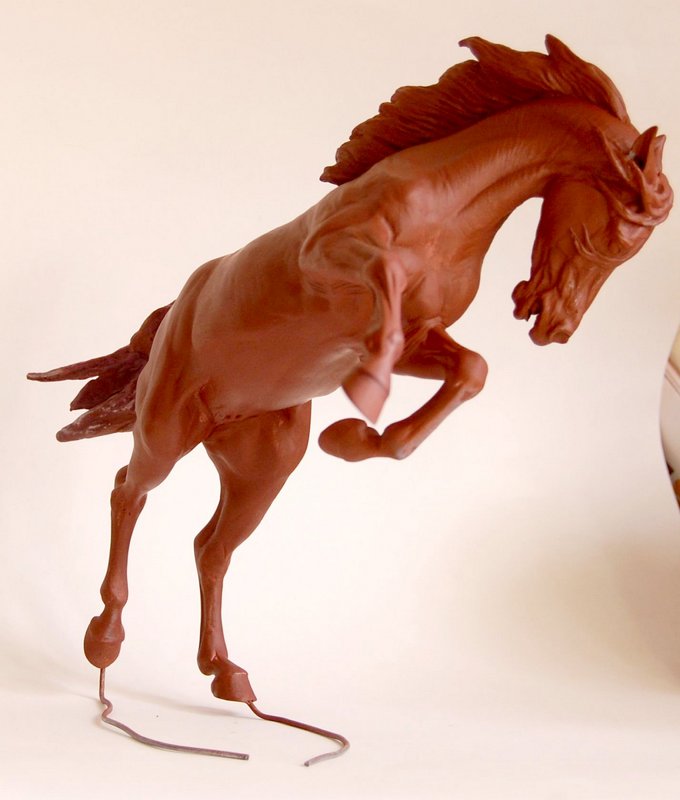
Lumina is a traditional scale Arabian mare, made to accompany Supernova. She's rearing and twisting and just lots of fun. She is still very much in progress (she doesn't even have a base, much the less things like mane and tail detail, and there may be more major changes as well), but has been demanding a lot of my attention lately.
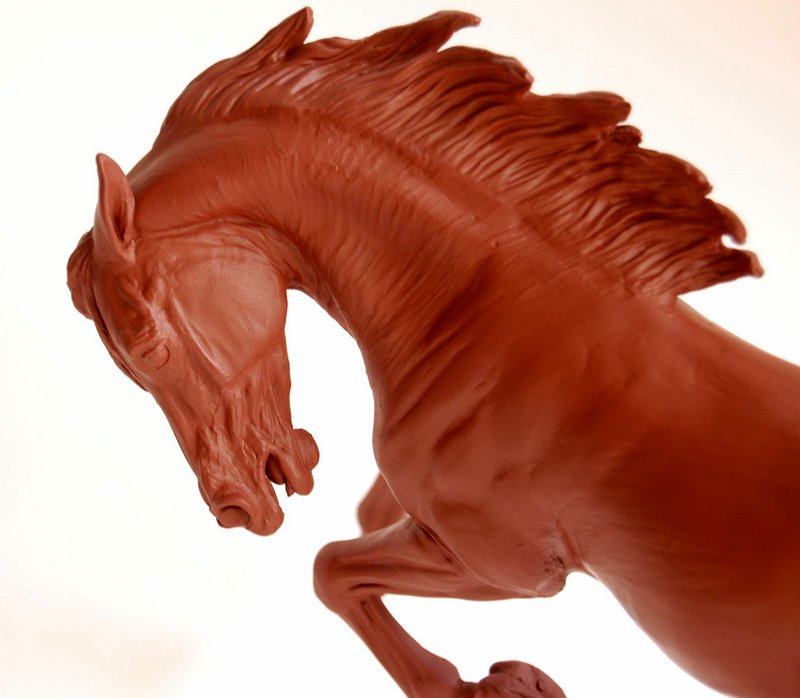
I can tell that she's going to be another one that's just impossible to get good photos of--the twist through her whole body means that something's going to get distorted by the camera!
Again, she's not nearly done, and I don't know what all will need to change before she is (if you see problems please do feel free to tell me about them, now is the time to change them)! But I plan to release her unpainted as well as paint a number for sale. Hopefully that won't be too far off, but it depends on how things go finishing her up!
Tuesday, April 19, 2011
Resin vs. Pewter
As many of you know, most model horses produced by sculptors for the hobby are cast in resin--that's why we call them "Artist's Resins", after all! Resin is an amazing material and comes in many varieties. The resins used in the hobby vary slightly, but nearly all are a two part, self-hardening thermoset plastic. Thermoset means that once the plastic has set up, you can't just reheat it to melt it down and use it again. Cellulose acetate (what Breyers and Stones are made of) is a thermoplastic plastic, so heating it will make it soften and then melt. Heating a thermoset plastic like resin may soften it up to a point, but it will not melt nicely so you can use it again.
Producing a model in resin is quite expensive. Uncured or unmixed resin is toxic to varying degrees, and getting good castings really requires some expensive equipment. The silicone rubber molds used to make resins are pricey, both in materials and in the very skilled labor needed to make them. The molds don't last forever, either--depending on a variety of factors, perhaps 65 castings can be expected out of each mold.
Resin is not particularly fragile, but nor is it incredibly strong. Heavy bodies on thin legs (like horses!) can cause gradual warping of the legs over time. For this reason, as well as the comfort of painters and economical reasons, hollow-cast resins are popular and common. Wire reinforced legs are also common. Producing a hollow-cast, wire-reinforced resin horse with minimal seams and bubbles requires an immense amount of skill!
When I began creating micro minis, I considered producing them in resin but quickly chose pewter instead. Many people in the hobby are not particularly familiar with pewter, but I think it's a lovely material.
Pewter is an alloy of tin and other metals. It has a relatively low melting point, around 350-450° F. That low melting point means that it can be poured into rubber molds, unlike many other metals which would burn the rubber. Typically, a vulcanized rubber mold is used to produce small pewter pieces like my micro minis. The molds my caster uses can hold 6-7 horses at a time and are vulcanized using heat and pressure, in somewhat the same way that a car tire is produced! This makes for durable molds: instead of 65 horses, a mold can often make hundreds of castings of each horse. I believe that my new horses are going to be cast using different molds, which don't last so long but do allow for complex poses without distortion (due to the high pressures and temperatures involved a certain amount of distortion is inevitable in vulcanized rubber molds).
The more durable molds are far from the major cost savings of producing small horses in pewter, though--after all, I don't really need to be able to produce many hundreds or thousands of each horse. No, the real savings are in the per-casting price, the price I have to pay for each horse on top of the fixed mold cost. For a resin micro mini, the last time I checked that cost per piece was higher than the price at which I sell the pewter micro minis. I would need to significantly increase the price (think doubling or more) to produce them in resin. This is the most important reason I have for using pewter. Even though the price of tin and therefore the cost of pewter (and the cost to me of my little horses) has nearly doubled in the last year I have not yet had to increase my prices on the micro minis.
Pewter can be painted and finished just like resin. In fact, miniature makers have been using pewter for far longer than anyone has used resin! In many cases the pewter horses have fewer and cleaner seams than resins, and the seams they do have can be cleaned the same way as resins--small files, sandpaper, and carbide scrapers.
One of the issues raised about the pewter micro minis is the surface texture or porosity some exhibit. While this can be sanded or polished down, it does add an additional step and could lead to loss of detail. For the newest horses, I am going to be using a different caster who I have been told can do amazing things with pewter. I haven't sent anything to him before, so we will see, but I have very high hopes that these will be cleaner and smoother than ever before.
Another issue comes in repairing broken pewter minis. I honestly can't say I've repaired many myself, as I'd rather simply replace the horse than spend a lot of time fixing it. However, for a painted model, simply replacing it is not so simple! Breaks can be repaired by drilling, pinning, and gluing, but that is very tricky on the tiniest micro mini legs. Depending on the horse, it might be pretty hard to simply glue certain breaks, especially if it is a very delicate leg that needs to support weight. In those cases, I would remove the broken area up to the nearest place thick enough to be drilled and have a pin inserted, then resculpt the broken area over the pin. While the additional weight of the pewter does make this more difficult than in resin, the much greater strength of pewter also means far fewer breaks than would be likely to occur in tiny, delicate resin legs. Some micro minis are more prone to breakage than others, as I have been seeing now that sales of them are handled in-house, and I'm trying to design future releases to be even less fragile while still having refined legs and details.
So, hopefully that helps clarify some of the issues with using resin for such little horses! Please feel free to post questions or comments, I'd love to hear what you think!
Producing a model in resin is quite expensive. Uncured or unmixed resin is toxic to varying degrees, and getting good castings really requires some expensive equipment. The silicone rubber molds used to make resins are pricey, both in materials and in the very skilled labor needed to make them. The molds don't last forever, either--depending on a variety of factors, perhaps 65 castings can be expected out of each mold.
Resin is not particularly fragile, but nor is it incredibly strong. Heavy bodies on thin legs (like horses!) can cause gradual warping of the legs over time. For this reason, as well as the comfort of painters and economical reasons, hollow-cast resins are popular and common. Wire reinforced legs are also common. Producing a hollow-cast, wire-reinforced resin horse with minimal seams and bubbles requires an immense amount of skill!
When I began creating micro minis, I considered producing them in resin but quickly chose pewter instead. Many people in the hobby are not particularly familiar with pewter, but I think it's a lovely material.
Pewter is an alloy of tin and other metals. It has a relatively low melting point, around 350-450° F. That low melting point means that it can be poured into rubber molds, unlike many other metals which would burn the rubber. Typically, a vulcanized rubber mold is used to produce small pewter pieces like my micro minis. The molds my caster uses can hold 6-7 horses at a time and are vulcanized using heat and pressure, in somewhat the same way that a car tire is produced! This makes for durable molds: instead of 65 horses, a mold can often make hundreds of castings of each horse. I believe that my new horses are going to be cast using different molds, which don't last so long but do allow for complex poses without distortion (due to the high pressures and temperatures involved a certain amount of distortion is inevitable in vulcanized rubber molds).
The more durable molds are far from the major cost savings of producing small horses in pewter, though--after all, I don't really need to be able to produce many hundreds or thousands of each horse. No, the real savings are in the per-casting price, the price I have to pay for each horse on top of the fixed mold cost. For a resin micro mini, the last time I checked that cost per piece was higher than the price at which I sell the pewter micro minis. I would need to significantly increase the price (think doubling or more) to produce them in resin. This is the most important reason I have for using pewter. Even though the price of tin and therefore the cost of pewter (and the cost to me of my little horses) has nearly doubled in the last year I have not yet had to increase my prices on the micro minis.
Pewter can be painted and finished just like resin. In fact, miniature makers have been using pewter for far longer than anyone has used resin! In many cases the pewter horses have fewer and cleaner seams than resins, and the seams they do have can be cleaned the same way as resins--small files, sandpaper, and carbide scrapers.
One of the issues raised about the pewter micro minis is the surface texture or porosity some exhibit. While this can be sanded or polished down, it does add an additional step and could lead to loss of detail. For the newest horses, I am going to be using a different caster who I have been told can do amazing things with pewter. I haven't sent anything to him before, so we will see, but I have very high hopes that these will be cleaner and smoother than ever before.
Another issue comes in repairing broken pewter minis. I honestly can't say I've repaired many myself, as I'd rather simply replace the horse than spend a lot of time fixing it. However, for a painted model, simply replacing it is not so simple! Breaks can be repaired by drilling, pinning, and gluing, but that is very tricky on the tiniest micro mini legs. Depending on the horse, it might be pretty hard to simply glue certain breaks, especially if it is a very delicate leg that needs to support weight. In those cases, I would remove the broken area up to the nearest place thick enough to be drilled and have a pin inserted, then resculpt the broken area over the pin. While the additional weight of the pewter does make this more difficult than in resin, the much greater strength of pewter also means far fewer breaks than would be likely to occur in tiny, delicate resin legs. Some micro minis are more prone to breakage than others, as I have been seeing now that sales of them are handled in-house, and I'm trying to design future releases to be even less fragile while still having refined legs and details.
So, hopefully that helps clarify some of the issues with using resin for such little horses! Please feel free to post questions or comments, I'd love to hear what you think!
Monday, April 18, 2011
New sculpture, new scale


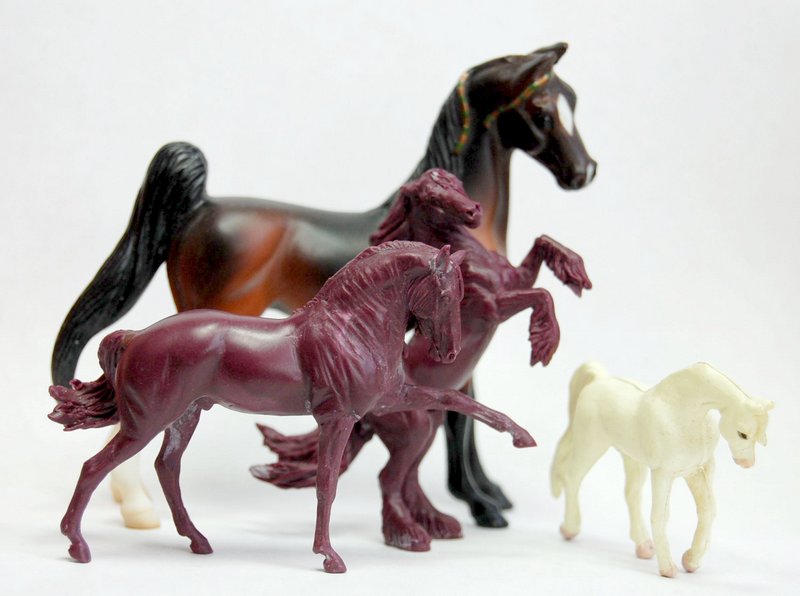
Any ideas for a name for this scale? Is anyone else doing stuff in a similar size?
Sunday, March 27, 2011
Another drastic custom Arabian!
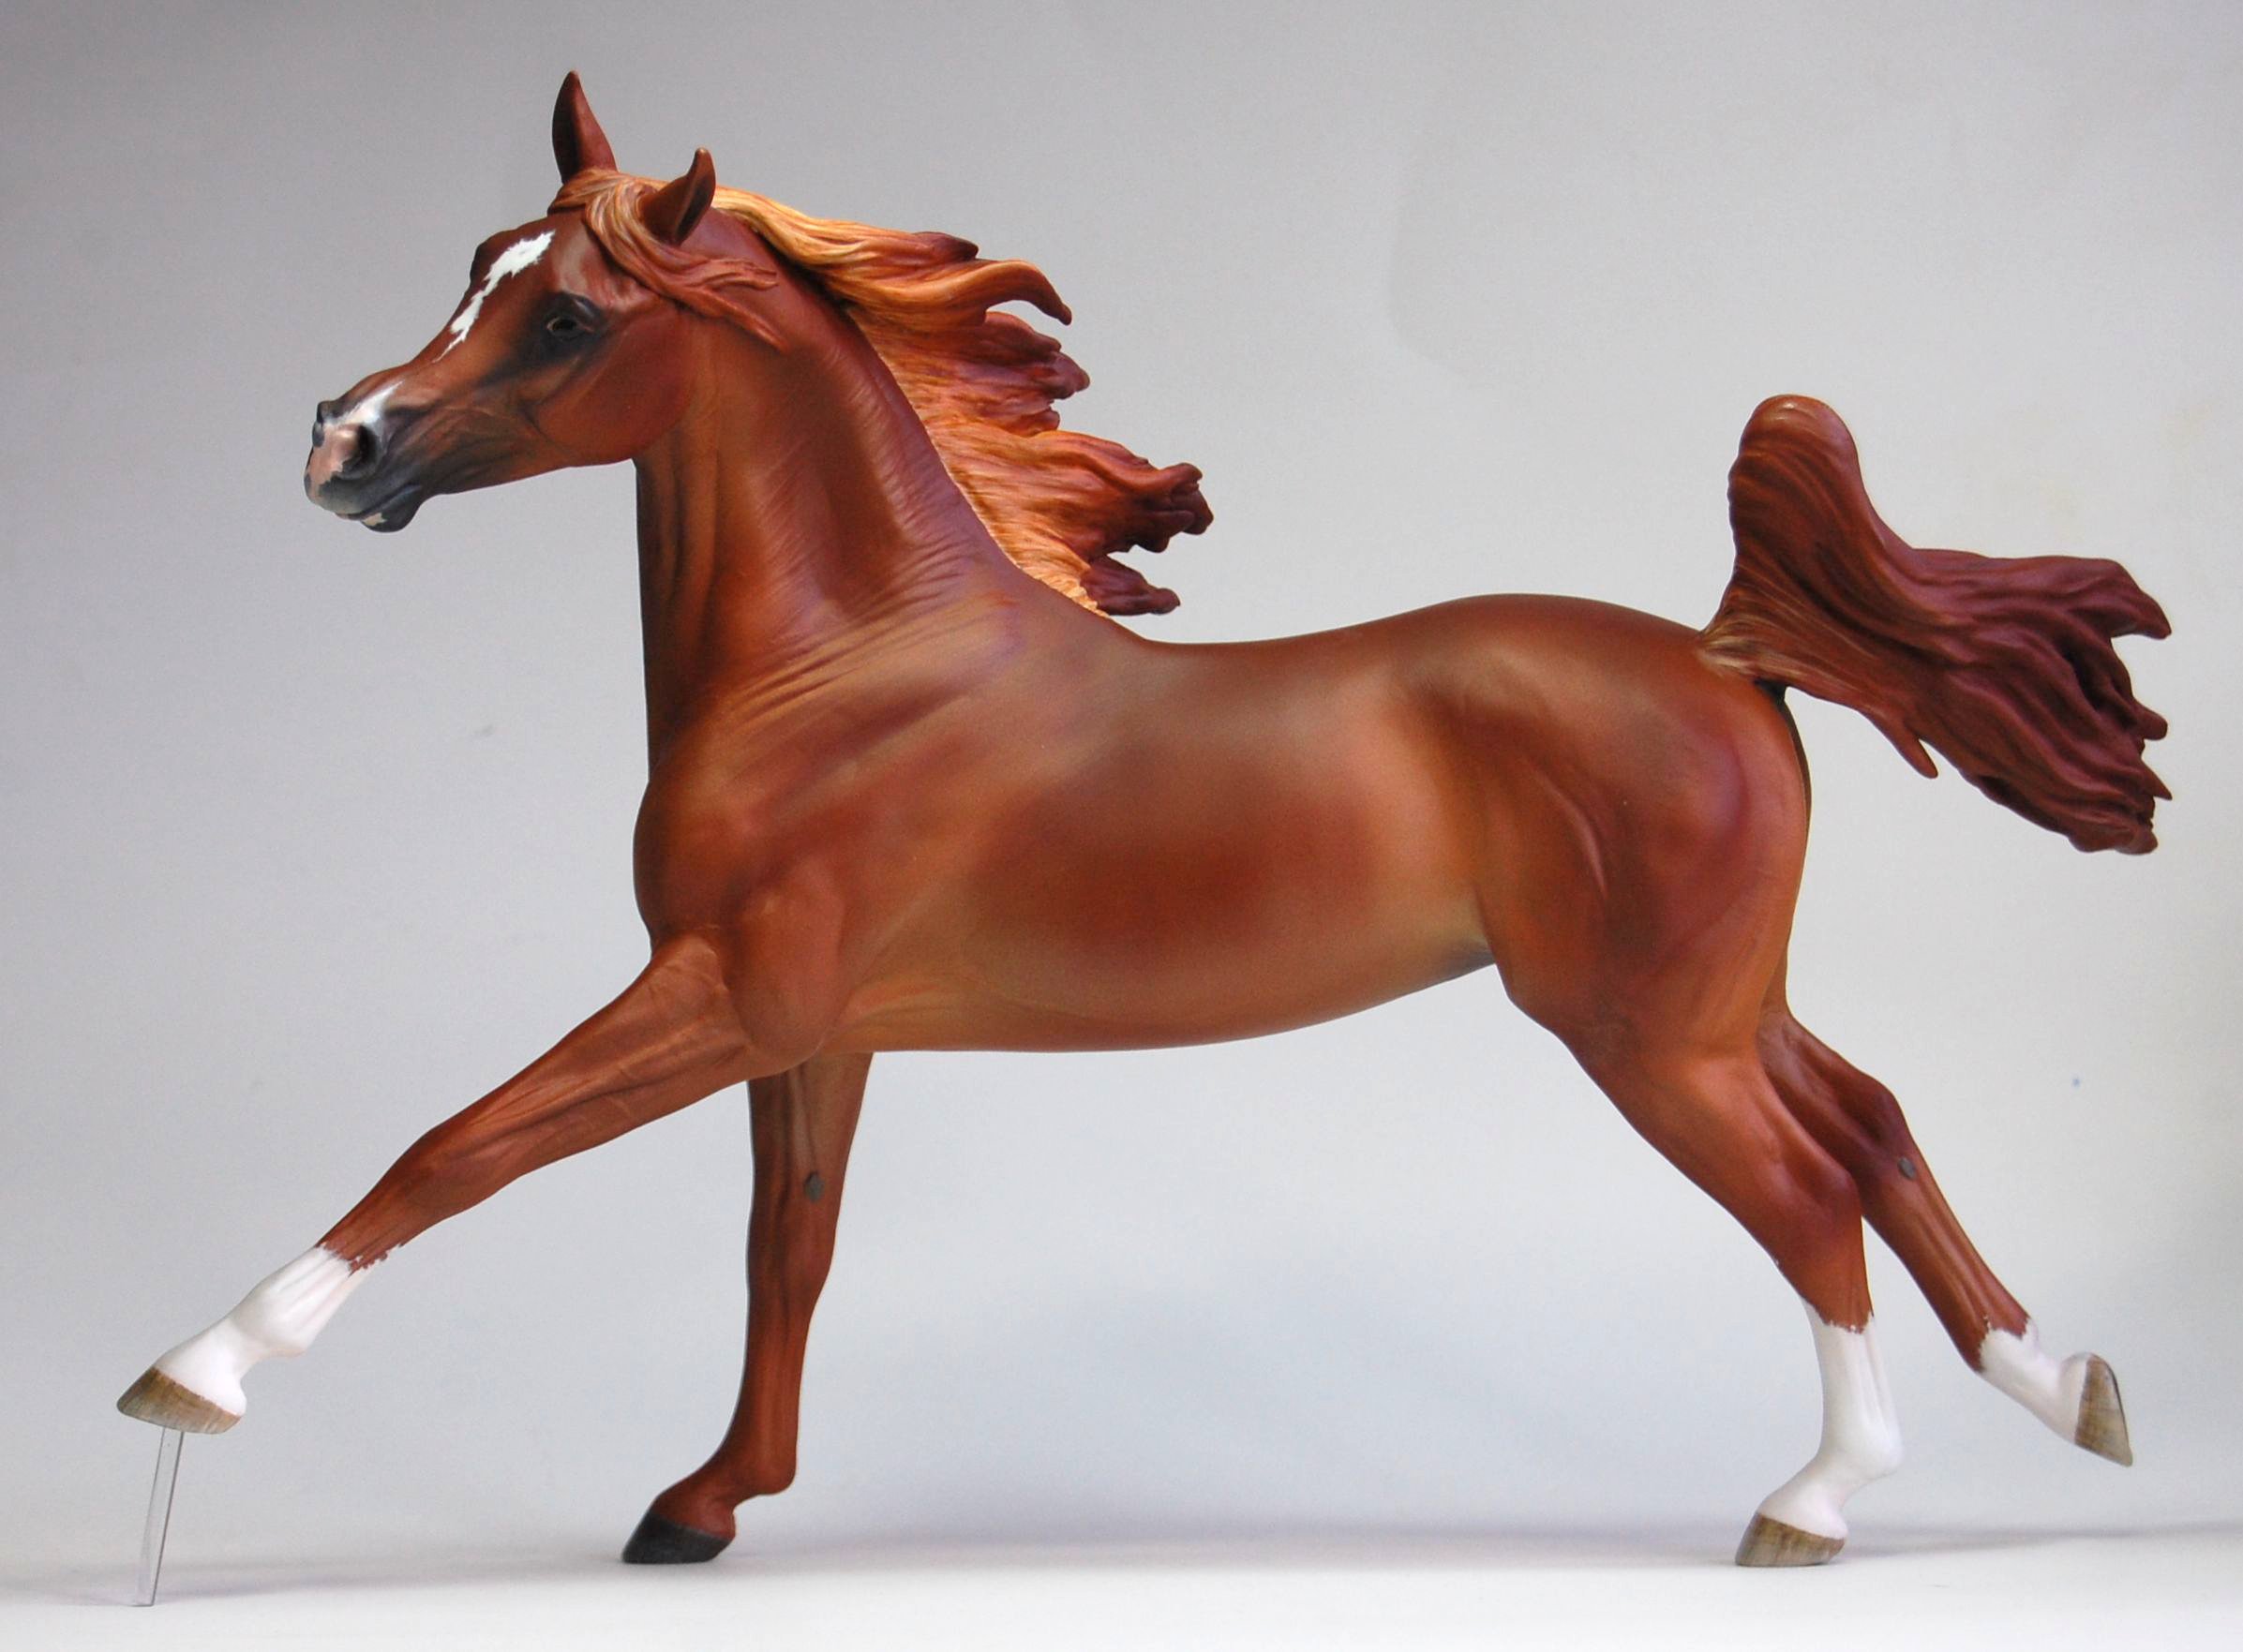
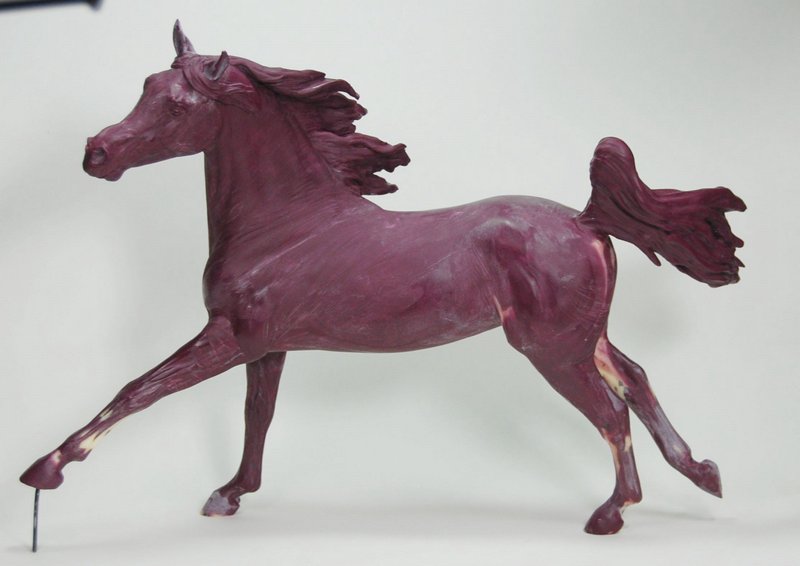
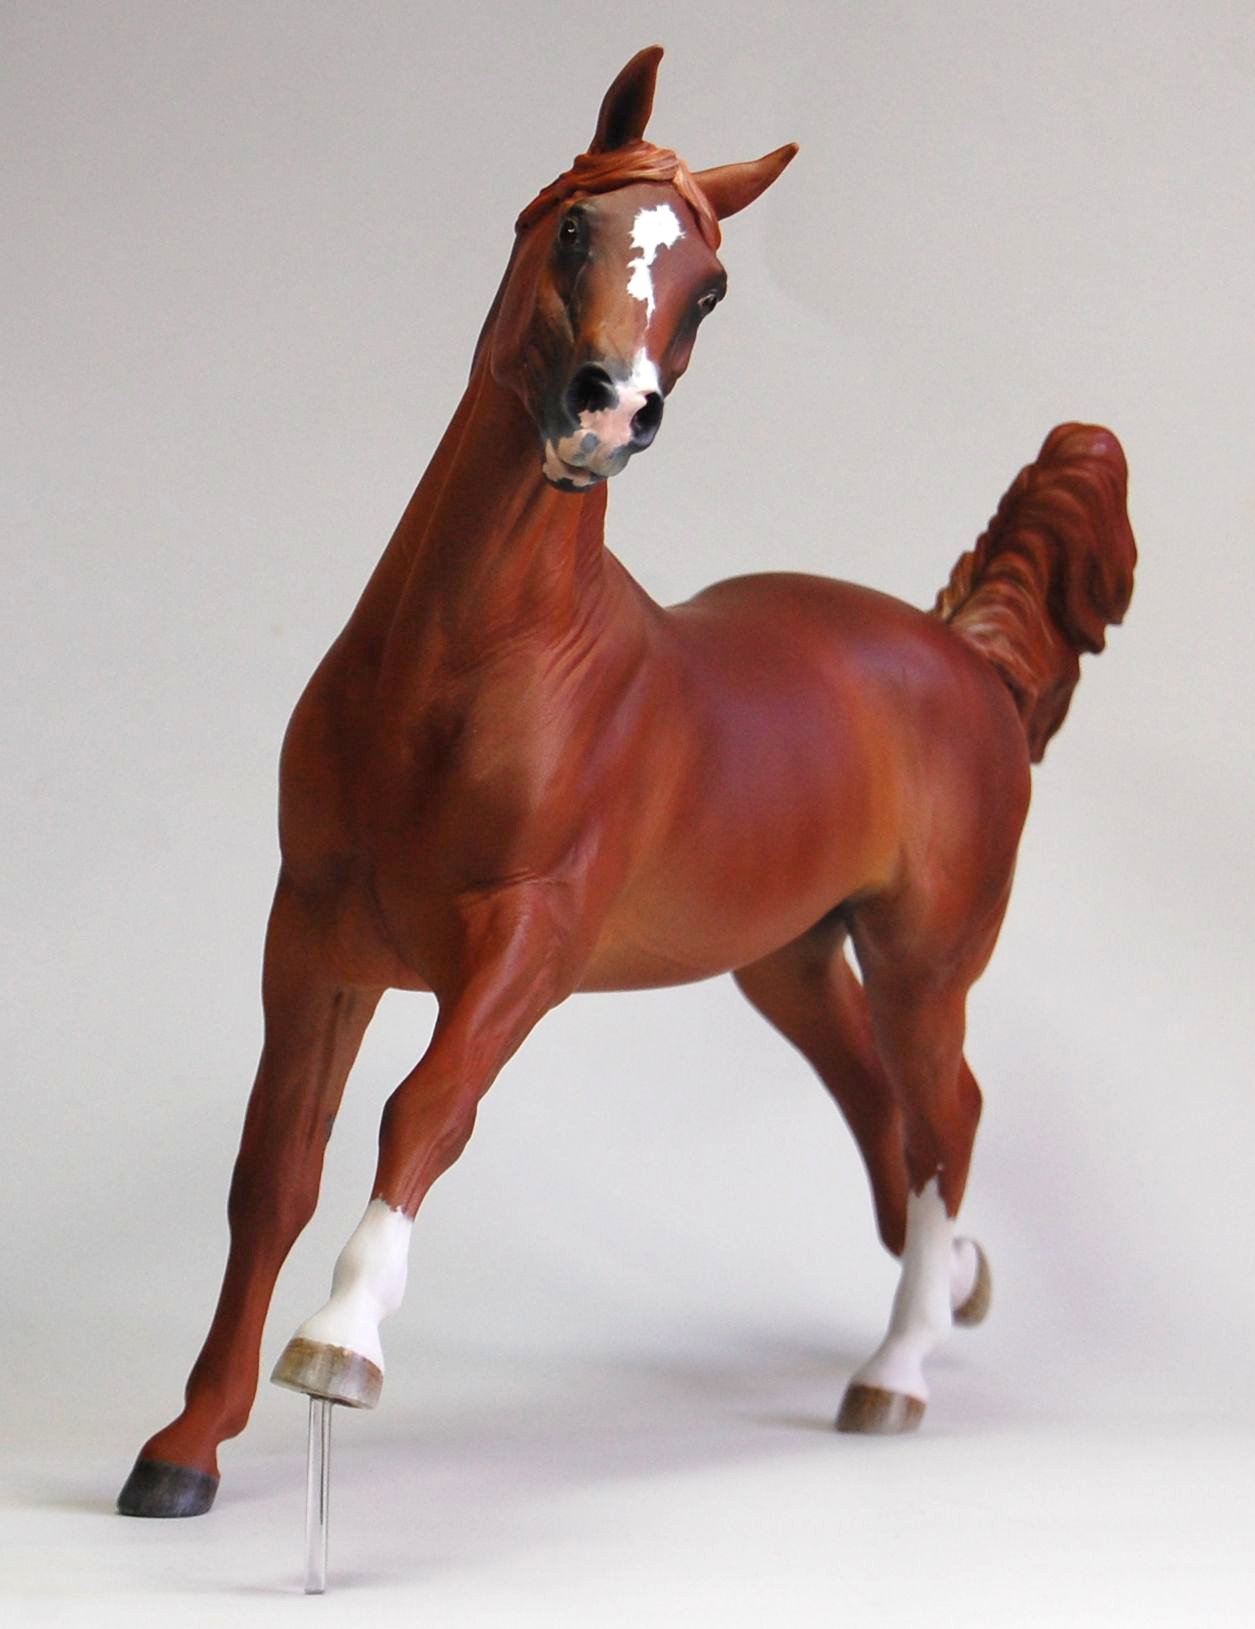
Longevity is always something to keep in mind with customs. I don't think anyone is honestly sure how well they'll hold up over the course of tens or hundreds to years, but I do know there are certain things we can do to help them last. Some, such as maintaining them in a climate-controlled environment as much as possible and avoiding sudden temperature extremes are the responsibility of the collector. But others are the responsibility of the artist! These include things like roughing up plastic areas before applying epoxy to them, so that the epoxy is able to make a firm bond, and drilling a small air hole to reduce the possibility of bloating if the piece is exposed to high temperatures. I have heard that customs in which these few simple guidelines have been followed are much more likely to hold up and bring joy for many years to come!
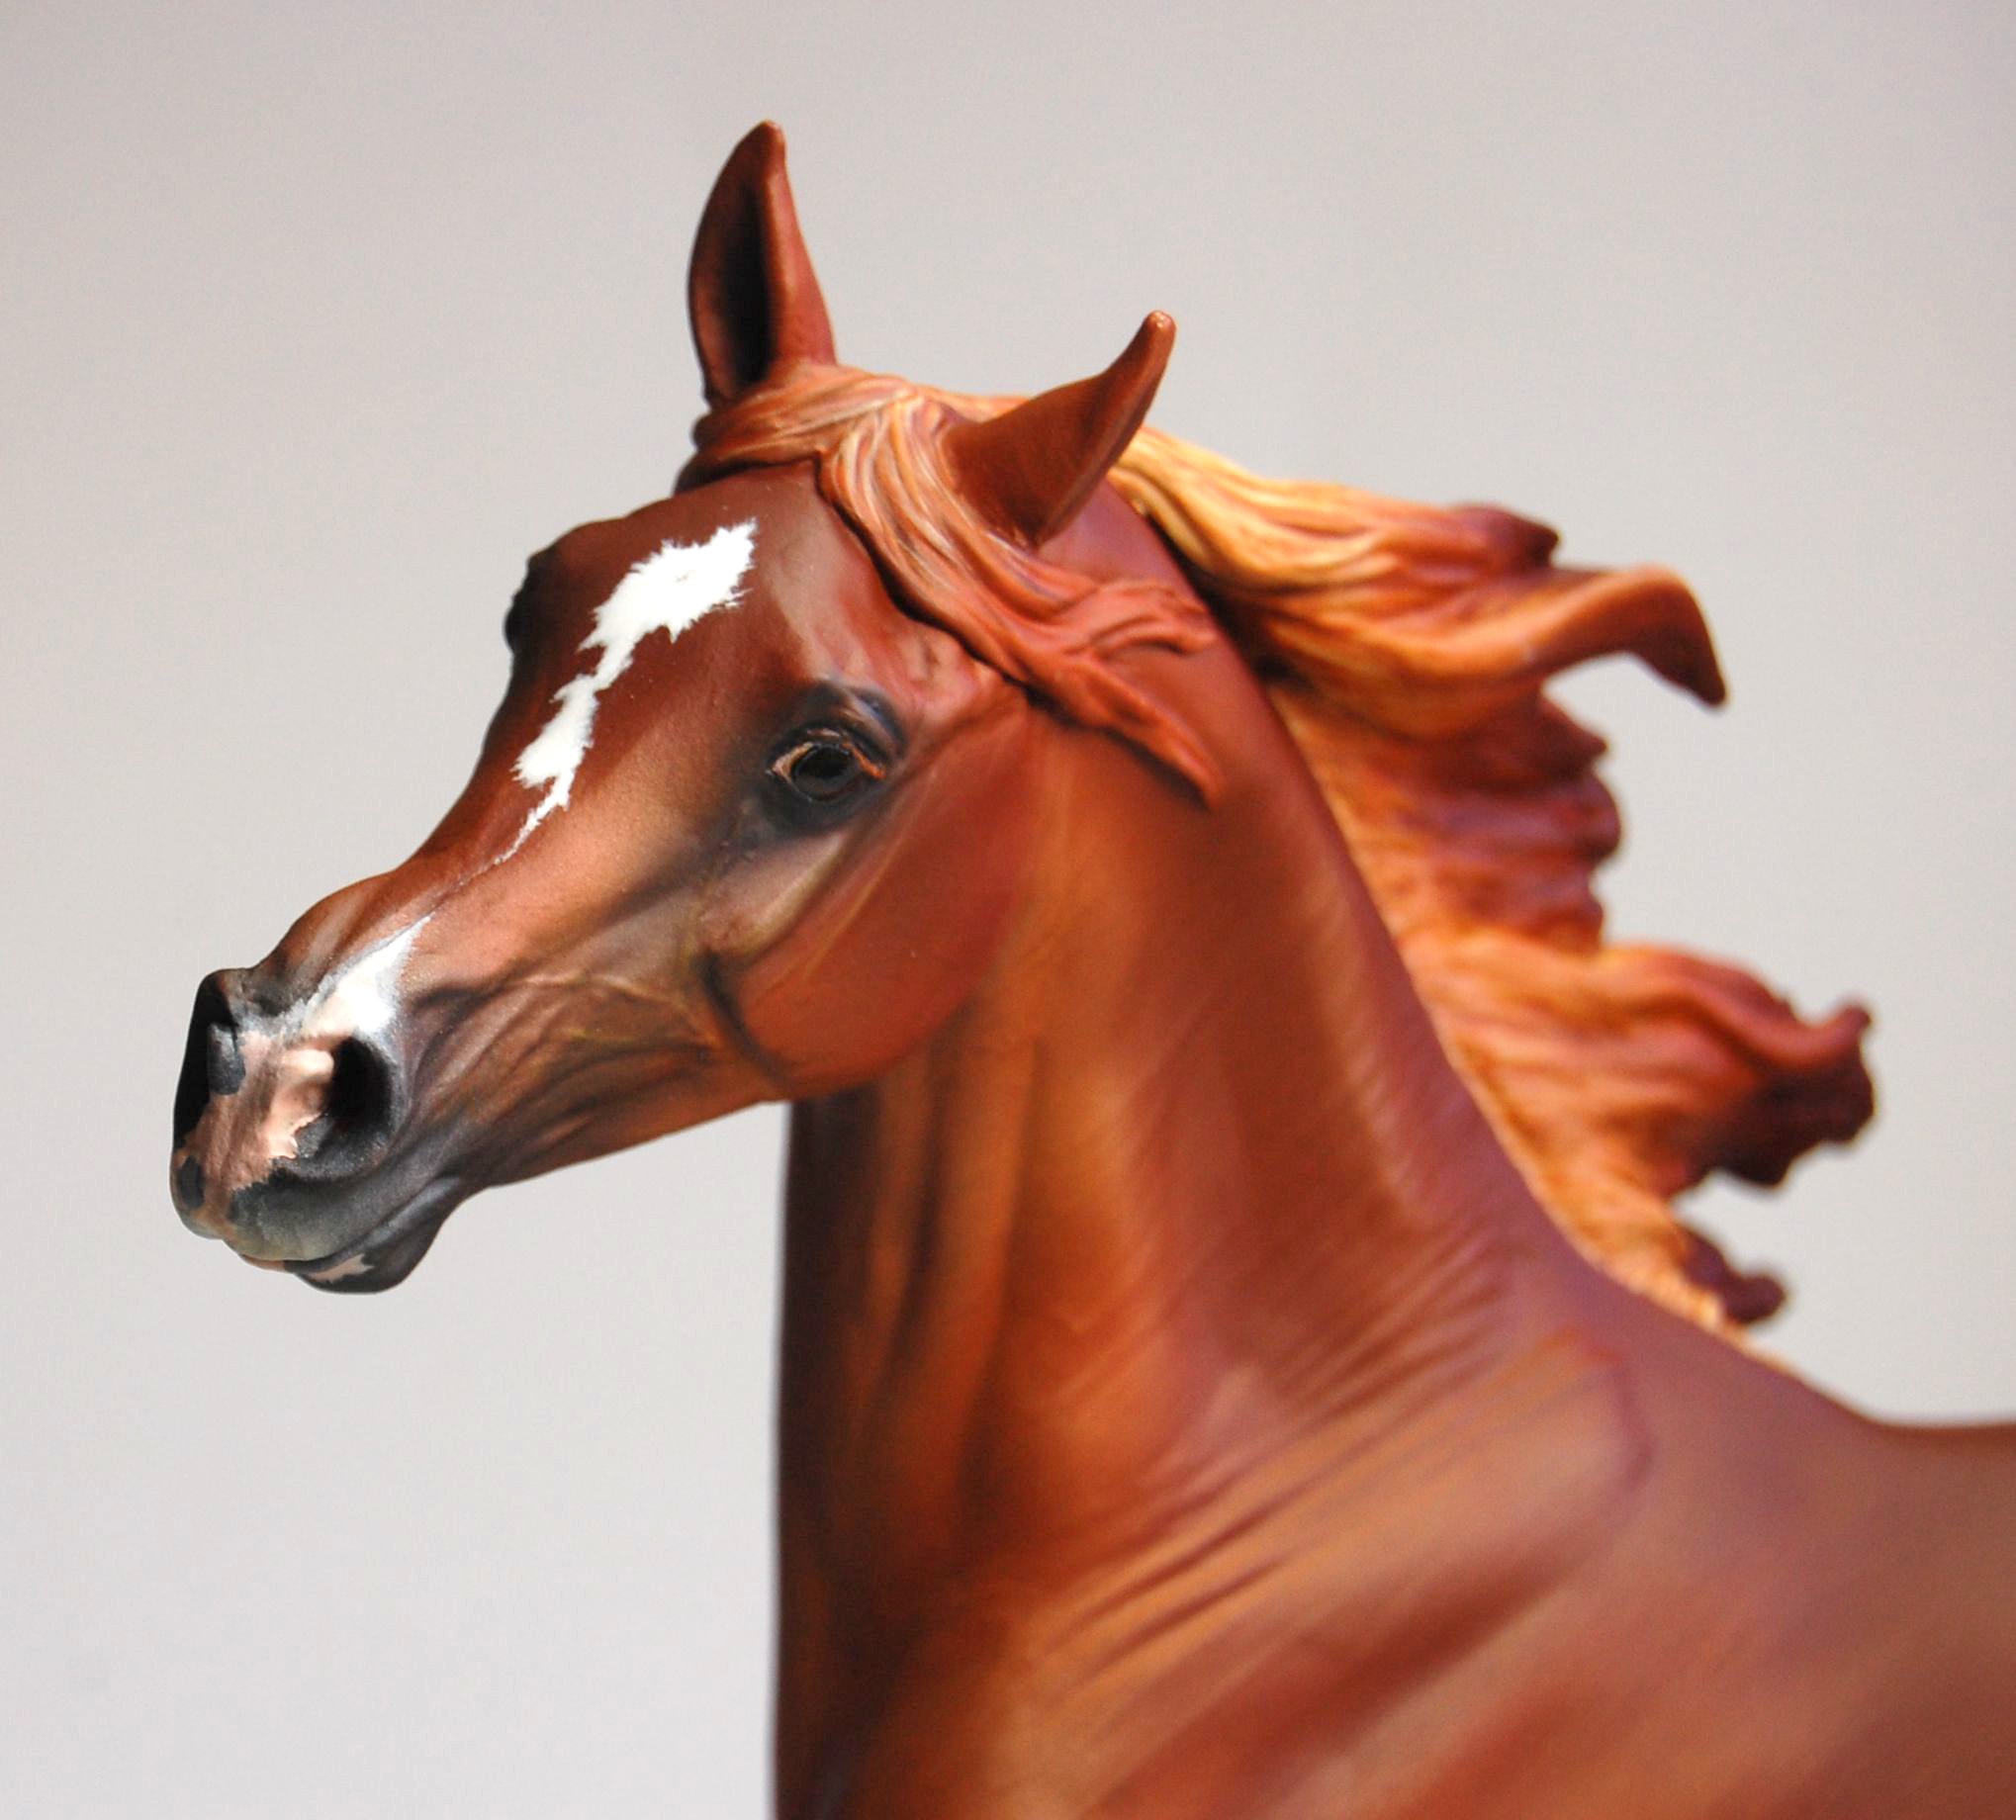
In Maysa's case, I scratched up the plastic all over the original (after I repositioned him) with an Exacto knife, making hatchmarks and deep scratches to give good adhesion. Her air hole is tucked discretely in her groin--much less noticeable than the corner of the mouth or the nostril, where many original finish plastics have their hole!
Monday, March 7, 2011
Smooth whites
Unfortunately, I don't have any magic tricks for getting nice, smooth, even white markings when painting. As far as I know, there isn't a trick to it beyond lots and lots of very thin layers to eliminate brushstrokes. I do like to seal the entire horse very well with Dull Cote, then airbrush in a thin (not fully opaque) layer of white over the markings, then clean the edges up using a bit of water, airbrush cleaner, or Windex on a q-tip or toothpick, but it's still a tedious process. I always want to rush it and then have to go back and fix things that I messed up in my rushing!
So, I'm sorry this is not a time-saver! It seems like there's no way around it if you want lovely smooth white markings!
So, I'm sorry this is not a time-saver! It seems like there's no way around it if you want lovely smooth white markings!
Friday, February 4, 2011
Drastic Custom FAS
Subscribe to:
Posts (Atom)

 Posts
Posts

